Planning The Great Divide Trail
An in-depth guide on planning Canadas Wildest thru-hike
***Disclaimer - This guide is from our own experiences on the trail. Conditions and rules can change so please do your own research before stepping out on trail.***
Background of the GDT
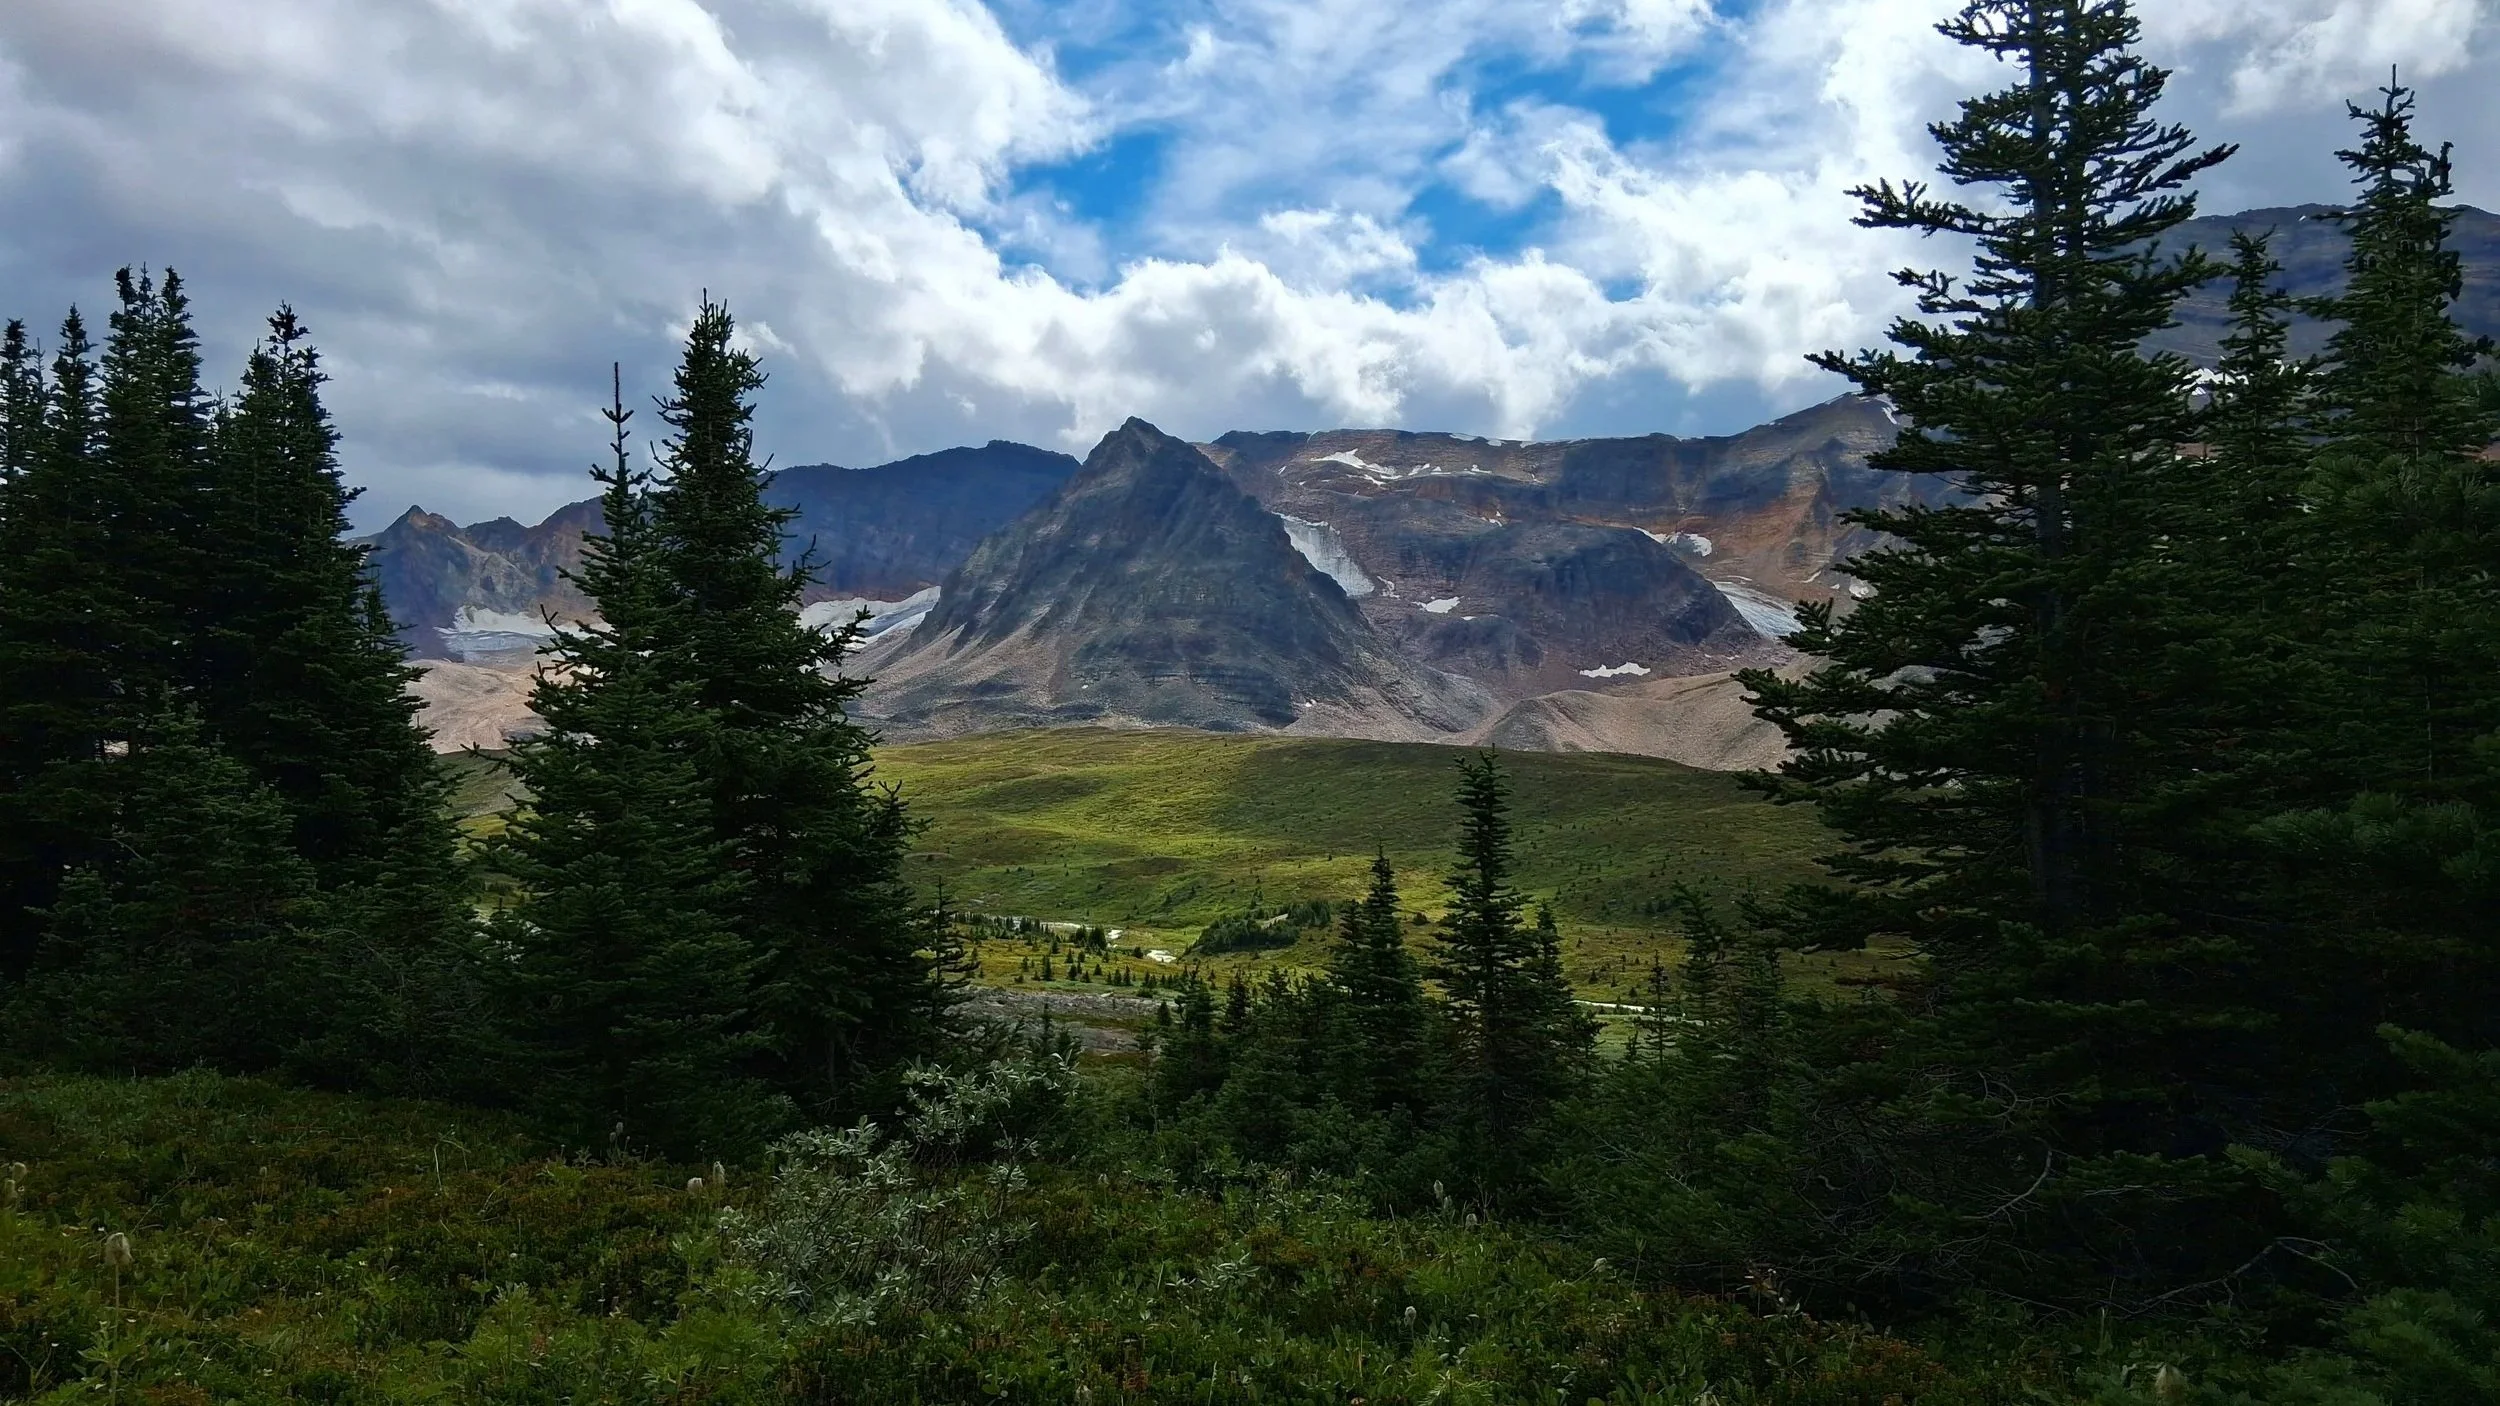
The Great Divide Trail traverses much of the Rocky Mountains in Canada; a beautiful yet challenging landscape. It closely follows the continental divide between British Columbia and Alberta. Set up in 1976, the trail is now broken down into 7 sections (A-G) and runs 1095km from Waterton Lakes in Waterton Lakes National Park to Kakwa Lake. Unfortunately, due to time constraints, we were only able to hike sections A to F finishing at Mount Robson, the old northern terminus. For planning of section G, I will add some information collated from research, however, I strongly advise you do your own research on this section. Under the resources tab I will also put links to recourses for planning the trail. The trail varies between well maintain routes within National and Provincial Parks to unmarked cross-country wilderness navigation. Planning proved to be one of the biggest challenges when we hiked from Waterton Lakes to Mount Robson on the GDT in 2025. Especially coming from abroad (the UK). Getting our heads around the permitting process and planning resupplies proved to be a logistical nightmare, especially being our first thru hike. We made the mistakes so you don’t have to!
Should I Hike this Trail?
The short answer, yes. If you are prepared! We took this on as our very first long distance hike and made a few mistakes along the way. I was fortunate to have hiked in the Rockies before and we both cut our teeth hiking, scrambling and camping in the Welsh mountains. This is to say, I absolutely wouldn’t step onto this trail without knowing your gear, knowing how to navigate and knowing how to deal with everything that comes with a multi-day camping trip. I mean this in terms of, keeping yourself warm and dry over multiple days of poor weather, navigating and having the foresight to change plans when things don’t go right. There are things that can go wrong on an adventure like this for even the most experienced hikers, but just ensure you have done the research to mitigate as many risks as possible. But, yes. If you are prepared, love viewing amazing wildlife, beautiful vistas at every turn, swimming in Glacial lakes, traversing spectacular mountain passes, secluded flower meadows, meeting wonderful and interesting people and challenging yourself to a great thru hike, then this is for you!
Navigation
The GDT is on FarOut! The trail is updated regularly with comments on camping, water crossings and water sources, regular and plentiful throughout the hiking season. The red line follows the primary GDT route with blue lines as alternative routes and yellow lines taking you out to the road or town networks. Navigation with only a GPS or phone apps is okay, so long as you have backups. For example, I have a GPS watch that I upload topo maps onto and a Garmin inReach mini 2 that can have breadcrumb trails laid onto it to use in case of an emergency. Upload the GPX file onto different apps as FarOut, good for its trail information, is not a significantly well detailed topo map. I would recommend either Caltopo or Goatmaps. It is recommended by the GDTA to carry paper maps at all times as a safety net. They provide section by section maps on their website. If you prefer to carry paper maps and compass whether it be your primary navigation or as a back up, they also offer waterproof versions. Now, I’m not going to advise against the GDTAs advice, however, ourselves and many people we met on trail didn’t carry a map. Rather they opted, like us, to use GPS and have some kind of a backup system. If you opt to rely on GPS and mobile apps, ensure you carry either a waterproof GPS device or store your phone in a waterproof pocket as the weather can change fast and significant water ingress can cause serious issues. Also, carry a reliable power bank as sections can be as long a 8 days, taking opportunity to recharge whenever possible.
Campsites and Permits
Getting permits for the GDT is one of the most stressful and difficult parts of the whole process. Permits open generally around the end of January, varying by a day or two each year and varying by a day or so by park. It is advised to get the busy, most popular campsites first, such as those on the Rockwall and Skyline trail, then build your itinerary around this. This requires sitting at your computer and waiting in a randomised queue to get your chance to book that camping permit. Often you wont get exactly what you want, but that’s okay! Cancellations are common so check frequently, even while on trail to find cancellations. It would also be recommended to sign up for something like Campgetter that monitors campsites for cancelations giving you the best chance to get those free spaces. Cancellations while you’re on trail are also very common. People book spots early in the year and often find they can’t go on their trip, or cancel due to poor weather. We got upwards of 10 spots from cancellations on the trail alone.
In terms of planning your itinerary and your campsites, start with the itinerary planned on the GDTA website. This gives you a good idea of daily distance depending on your speed and confidence. From here, check the Parks Canada reservations website to see what campsites are free, and nearby. It gives you an idea of other sites you can book if your preferred spot is booked up. Equally, if you are still unsure of what to do, just give Parks Canada a call (Inside North America: 1-877-737-3783) (Outside North America: 1-519-826-5391). They are extremely helpful and know of campsites and work arounds you can do to fill in your itinerary. Some sites specify booking by phone, some of which we couldn’t book until we were on the trail. But again, Parks Canada are so helpful and with some simple explanation of what you’re trying to do they will help you sort it all out. It is also worth noting, when booking some campsites, the system may say, ‘your starting point is too far from this campsite’, or something along those lines. If this comes up, either change your entry point or again, call Parks Canada, explain what you are doing and that you are comfortable and able to hike those distances and they can override this on their system. Other campsite reservations require either an Alberta Public Lands Pass or a British Columbia Parks reservation. Cash on arrival in an honesty box is infrequent, but is the case at some sites along the way.
In terms of actually figuring out an itinerary and booking your campsites, create yourself a spreadsheet and fill in those busy campsites first. After this, fill in what you can and make a plan for where your going to stay on those nights that don’t require bookings. But again, its not set in stone. This is where you can easily build in some flexibility. Laying everything out like this also makes planning resupplies and food carries easier. If we’d had more time and started booking permits when we should have, we would have taken far more notice of elevation gain and trail conditions. In some areas 35km days were a breeze, in others, 10kms felt like a never ending slog. Try to tailer your days as best you can to suit the trail conditions but of course this isn’t always easy. To get a good idea of the general trail conditions, take a look at the Guide Book and watch YouTube videos and study other peoples blogs . Use this information to know where you’ll likely need to go slow and where you can cover big miles! I will add more videos and blogs we found helpful as well as our itinerary under the recourses tab. Give yourself time to plan and allow things to change along the way. Use the GDTAs itinerary and do not worry if you don’t get the permits you wanted!
Resupplies
Resupplying food on the GDT is fairly straight forward and for us and very reliable. It is possible to purchase resupplies at almost all the towns along the GDT with the potential exception of the campsites at the end of Section B. There is a small shop at the campsite but you would struggle to scrape together a full resupply. Buying food, although possible, is expensive. I would recommend buying in bulk and posting all your resupplies as I find, a sub 2 month hike isn’t quite enough to make me sick of the food I packed. Also, buying in bulk and pre-planning food helps you create a healthier and more balanced diet on trail. It is possible to survive off instant noodles, gummy sweets and peanut butter, but by day 40 you’ll be sick of it! Try to build in some variety and cover the main food groups avoiding too much sugar as it only provides short term energy and often leads to a crash on trail.
Posting resupplies is simple. The Waterton Lakes post office is very used to dealing with hikers posting resupplies and they have boxes you can use plus extremely helpful staff. Simply package your resupplies and send them from the post office in Waterton. Its that easy! The GDTA website has a list of where you can send resupplies and how to do it, as well as the cost. Some resupplies are run by the GDTA themselves and you can request gas to be bought out with that resupply. Gas is very easy to come by in all the towns and being such an outdoor focused area, purchasing gear and extra food along the trail is fairly straight forward. Bringing food into Canada is a bit of a grey area. We bough some vegan food over, as meat and dairy is not allowed, and we were checked at customs. I would recommend giving yourself a day or 2 in Calgary, or whichever city you fly into or come through, to purchase all your food. There is plenty of excellent choice.
Where we would recommend sending packages:
Country Encounters, Coleman (If you’re staying there) or Coleman Post Office
Elk Pass Trailhead Lockers (Via GDTA, can request Gas)
Sunshine Village
Goldens Dreamcatcher Hostel (if you stay in Golden) or Field Post Office
Saskatchewan River Crossing Resort
Jasper Downtown Hostel (if you’re staying here) or Jasper Post Office
Blaeberry Trailhead Resupply Lockers
Getting to and From the GDT
Getting to the southern terminus is fairly easy and of course varies depending on your starting point. I would advise flying into Calgary as its the easiest starting point and its worth spending a couple of days getting food for resupplies, if you haven’t already. From here, you need to get to Waterton Lakes. There are 3 options for reaching the southern terminus offered on the GDTA website, Airport Shuttle Express offering shuttles from Calgary Airport to Prince of Wales Hotel in Waterton Lakes, Mountain Man Mike’s between Calgary and Pincher Creek, and Calgary Waterton Shuttle run by a Crowsnest Pass Local offering lifts for groups from anywhere in Calgary to Waterton Lakes. We went with, and I would recommend, Calgary Waterton Shuttle. It was straightforward and reliable. It is $140 per journey so the more people you get in the shuttle, the cheaper per person. It is not for me to give her details out but they are on the GDTA website linked above. It is also worth keeping her details for lifts around the trail and to and from trailheads.
Getting from the northern terminus is slightly more difficult. If exiting at Mount Robson, it is fairly easy to hitch hike back down to Jasper, however, hitch hiking is done at your own risk! We felt safe but always hitch hiked together making it far safer. If exiting at Kakwa lake there is a 75km forest road walk to highway 16. It is possible to get a 4×4 up there but you would have to arrange your own lift. If taking the 2 to 3 day walk to highway 16, it is possible to hitchhike south to Jasper. It is a long way, 236km to be exact. There are shuttle packages offered from Blaeberry Trailhead and Robson Backcountry Adventures on request, however this can be expensive. Sundog Tours, Flix Bus and Brewster Express all run bus services from Jasper. There is lots of information on getting back from the northern terminus on the GDTA website.
Town Stays and Zero Days
Zero days in town can be as enjoyable as the trail itself. A nice place to stay, wash your week old hiking clothes and having a good meal out is just the reset hikers need before heading back out on the trail. The towns of the Rocky Mountains have some excellent spots for food and drink and wonderful places to stay. I have put together a list of places we enjoyed and would recommend to others
Waterton Lakes:
Hotels/Motels/Hostels
Bear Mountain Motel is a reasonably priced motel giving you an individual room and excellent service and advice about the local area at the front desk. It is in the town centre so only a short walk to all amenities and the start of the trail. They also accept packages if you wish to send food or anything ahead. We ordered some backpacking meals via Amazon.ca to there for our arrival, making resupplies cheaper and easier.
If you want a luxury start to your trail the Prince of Wales Hotel certainly offers that. A stunning hotel with fantastic restaurants, afternoon tea and lakeside views. It is just a short walk from the centre of Waterton.
Food and Drink
We chose the Lakeside Chophouse as our ‘final meal’ before stepping out on trail. We could not recommend it more!
There are plenty of good restaurants in Waterton to choose from but some other recommendations include: Thirsty Bear Kitchen and Bar, Red Rock Trattoria
Other Amenities
There is a front country campsite, a local post office, a laundrette and a few small stores for food and any other bits you have forgotten. There is also an excellent outdoor shop called Tamarak Outdoors that has everything you need and also supplies bear spray.
Blairmore and Coleman:
Hotels/Motels and Hostels
Possibly our favourite stay of the entire trip Country Encounters, Coleman. Wonderful rooms decorated in each their own unique style. A hiker box at the front desk and a wonderful couple that know the trail well and offered us some excellent help and advice for the town stay and the following section. We couldn’t recommend this stay more and, as stated above, they accept resupplies.
There is a campsite in Blairmore with basic and far cheaper cabins. they also have hot showers and a laundrette to wash your clothes.
Food and Drink
The Rum Runner Pub is an excellent spot to tame early onset hiker hunger and a drink to celebrate finishing section A. Excellent burgers and beer on tap and a fantastic atmosphere.
Onemore Restaurant provides greater choice of equally good food in a slightly more relaxed setting.
Other Amenities
There is an IGA supermarket in Blairmore, just a 5 to 10km walk from Coleman, so best to do your shopping on the way through. Spry, also in Blairmore, stocks a few bits and pieces you may want for the trail ahead.
The Crowsnest Pantry. An amazing shop for nuts, fruit, vitamins and building your own trail mix. I highly recommend giving this shop a visit even if you have your resupply!
End of Section B:
Section B doesn’t end in a town. We chose to stay at a local campsite up the road called Boulton Creek. I would recommend staying here as you can charge your devices, there are showers on site, a small shop and ice-cream parlour to pick up any extras you may need. Before hitting the road, Elk Pass Trailhead lockers appear on your right to collect your resupply.
Sunshine Village:
Sunshine village is located just off trail taking the alternate at kilometre 432. There is a small gear shop and a few little restaurants. If you reach Sunshine Lodge before 9:30am, the is a $21 breakfast buffet. It is worth the early start. There is also the possibility of a shuttle running into Banff.
Golden BC:
Hotels/Motels and Hostels
Golden was one of our favourite towns on the GDT and had one of our favourite stays as well. Dreamcatcher hostel. A reasonably priced well equipped hostel with a good kitchen, dorm and private rooms and a laundry service right on the edge of downtown Golden. Its where we would definitely recommend staying!
Food and Drink
Sadly, our favourite spot for an excellent burrito has closed down but there are plenty of other good places to eat in Golden. The Wolfs Den, The Island Restaurant, Eleven22.
We would also recommend the Whitetooth Brewery for a good pint and there is often a pizza van parked outside. There is sometimes live music too making for a great afternoon and evening.
Other Amenities
There is an IGA Supermarket right next to Dreamcatcher Hostel and a laundrette just around the Corner.
Taxis are available to get back to the Field trailhead but we had luck hitch hiking.
Saskatchewan River Crossing:
Hotels/Motels and Hostels
There is little choice at Saskatchewan River Crossing. The only place to stay is The Crossing Resort. A nice hotel with private rooms and multiple beds in some, allowing you to double up on rooms to save money.
Food and Drink
There is only really one place to eat, The Crossing Café. They serve a reasonable evening meal and a good buffet breakfast.
Other Amenities
There is a general store that sells basic food and a few camping supplies.
Jasper:
Hotels/Motels and Hostels
There are many places to stay in Jasper from top Hotels like Fairmount Jasper Park Lodge right down to the front country campsite. Jasper Downtown Hostel is a reasonably priced hostel with good amenities and right in the centre of Jasper. They also provide a laundry service.
Food and Drink
There are so many places in Jasper for a fantastic meal. Bear Paw Bakery is an excellent spot for a coffee and baked goods. In terms of restaurants there are plenty to choose from. Some recommendations: The Maligne Range, Harvest Food and Drink, Terra and a good pizza restaurant I would personally recommend Jasper Pizzeria.
Other Amenities
Totem Ski shop stocks backpacking meals and other useful bits and pieces you may need. There are numerous supermarkets and outdoor shops that will cover pretty much anything you may need to pick up on the way through. There is also a Parks Canada office where you can get you GDT tag and check for and change future reservations.
Bear Safety
Now this is a point that will put some on edge, or even stop some people hiking all together. Especially those, like ourselves, who come from a country with no predators that pose any threat to people. Bears turned out to be no issue what so ever for us on this hike and we attribute that to learning the correct safety precautions. Of course walking as a pair was an advantage over walking solo, as its easier to consistently make noise. Plus, the more people in a group, the less likely a bear is to approach. Safety in numbers. We are by no means qualified to lecture people on bear safety, hence we would encourage anyone hiking in bear country to watch a full bear safety video such as this: Bear Awareness and Bear Spray Virtual Course - May 20, 2021. This shows what to do for different types of bears, in varying situations, whether it be male, female, Grizzly, Black and with or without cubs. However, some take home points, of which we saw a mixture of mistakes made, would be to ensure all items that have a scent are stored in a bear proof container and kept well away from camp, also, eat equally far from your camping spot. Make plenty of noise when hiking; we scared many bears off while hiking before any encounters. Just seeing something run away into the woods as you round the corner is quite comforting as it shows it works. Of course, always carry bear spray and have it somewhere accessible. Keep it with you at all times, even if you just put your bag down to collect some water or set up your tent. Finally, it is not just you that your actions impact! Just because you’re leaving a campsite it doesn’t mean you should eat in your tent or leave food round your campsite. It can cause issues for someone that may be there the following nights, and potentially impact their or the bears life. We saw just the 1 bear on the whole trail but saw signs daily. Not being used to this lead to the odd sleepless night! Finally, watch that video, consult the GDTA website as well as the Parks Canada website and remember at the end of the day your the one in their home.
Weather, Trail Conditions and Start Date
Weather conditions on trail can vary massively day to day or even hour to hour. Your start date and when you are passing through certain areas also means you’ll see varying trail conditions and weather events. Starting earlier, you’ll see far more snow on higher passes but potentially giving you better weather in the middle and towards the end of your hike. Starting later will mean the high passes are mostly snow free but can lead to hiking in mid to late September. There is the chance of snow, very cold nights and more frequently unsettled weather. We started July 16th and this was perfect for us. The snow had mostly gone on high passes and warm weather stayed with us throughout. There were colder nights in our final weeks, however, still perfectly manageable. This can of course vary year on year so it would be advisable to check snow pack throughout the winter to give you an idea of how much snow might stick around on higher passes. Early to mid July is really the perfect time to start the GDT if you hike at a moderate speed.
July through early September in the Canadian Rockies tends to bring with it beautiful weather for hiking. Days can be warm and dry and nights cool and damp. Expect night temperatures to get below freezing. Our coldest night was around -7C and nights at high elevation consistently fell below 5C. We used a 10F (-12C) Enlightened Equipment quilt for our hike and found this to be about right for us. It would be advisable to at least have a sleeping bag rated to -5C. Days got as warm as 36C for us so be equally prepared for warm days. Evenings and mornings are often cool, sometimes just a few degrees above freezing. Rain can fall at any time with very little warning. Being a mountainous area, typical mountain storms are common. Mid afternoon can come with short sharp downpours often with hail and thunderstorms. It is a good idea to try and understand the weather and not entirely trust the forecast. Be prepared for severe storms, that are often short lived and be ready to get off of high points when you here distant thunder. For us, Section B was particularly stormy, with some major thunderstorms passing right over camp all afternoon and night for multiple days. It is worth learning the lightning position and reading further on Parks Canada lightning safety page. Equally alerts and active storms can be tracked on their Weather Information Map.
Final Note
Planning for the GDT is somewhat more challenging than even the hike itself but its well worth the time and effort. Getting it all planned before you set off gives you peace of mind but changes can usually be made along the way. Getting your gear dialled in also gives you that little more comfort and one less thing to worry about. Check out our gear list and recommendations under the gear tab. If you think something may have been missed or disagree with any information put up on this page, please reach out via Instagram, Email or through our contact page. I want this page to be as helpful and informative as possible, answering most of the questions we struggled to find answers for. Also, feel free to get in touch if you have any questions or want any advise when organising your own thru hike. This truly is an amazing thru hike. The perfect mix of a physical and mental challenge, with a great community and unrivalled beauty. Happy Hiking!
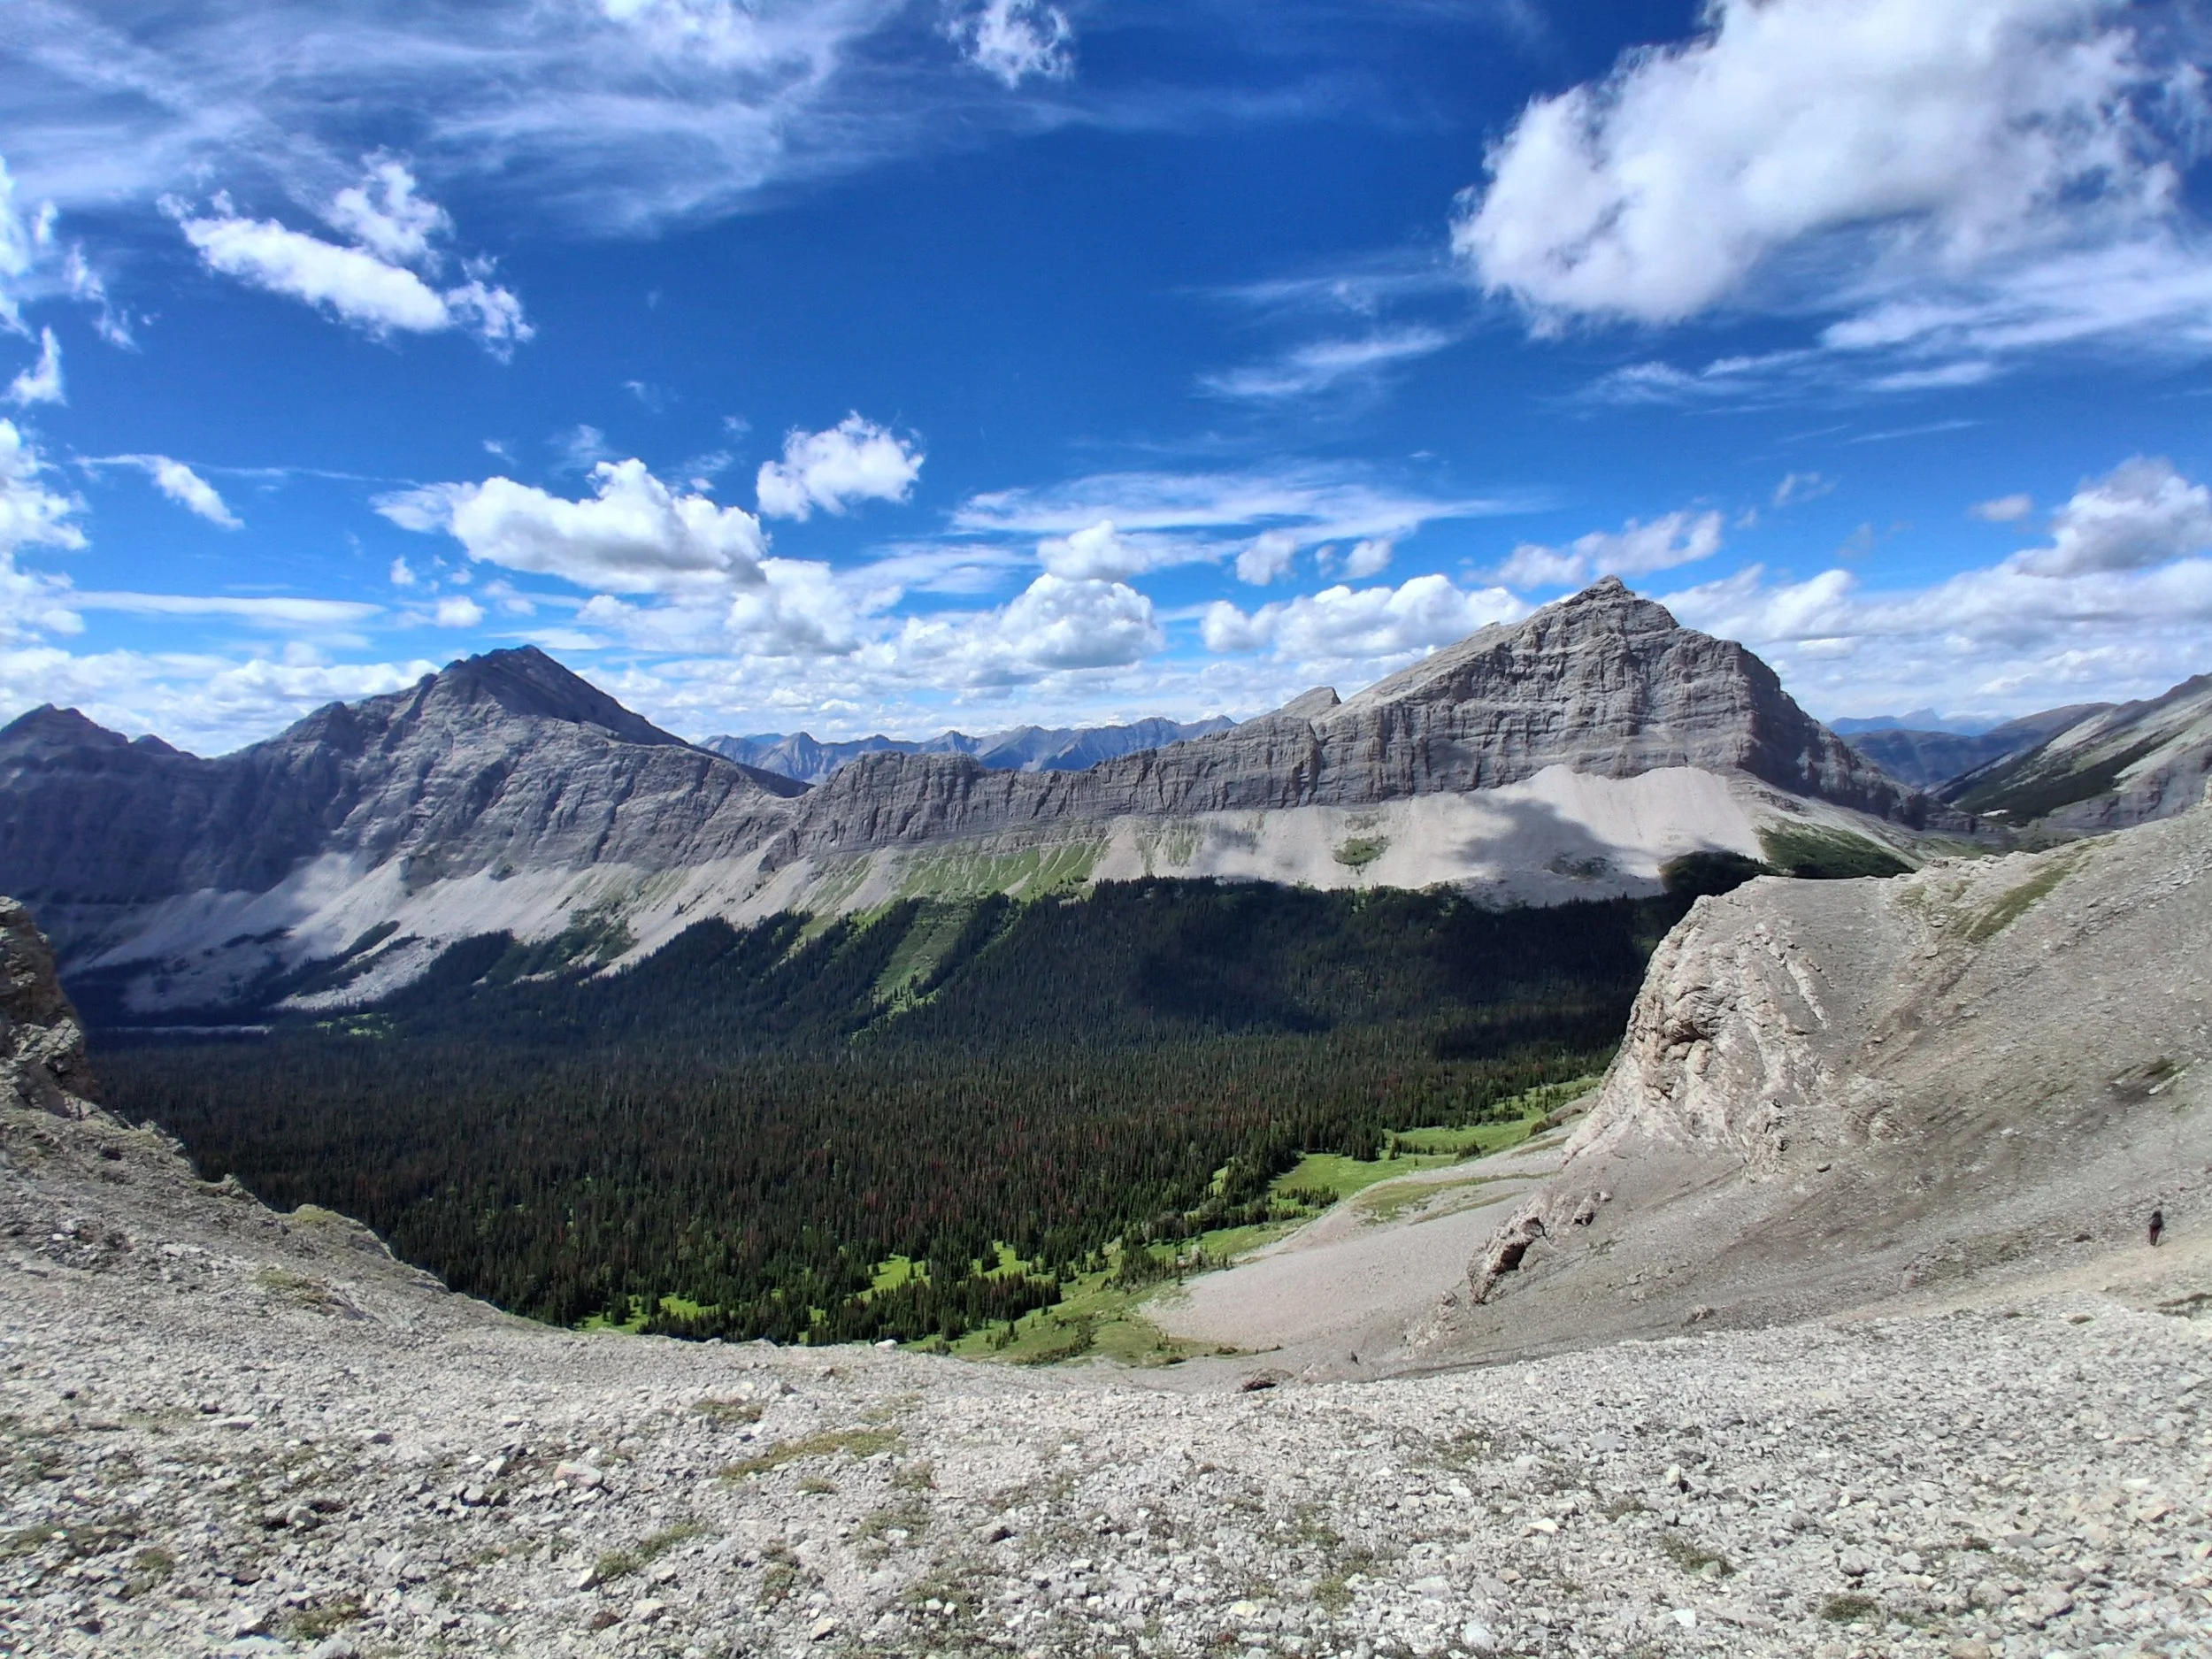
Section B - Tornado Pass
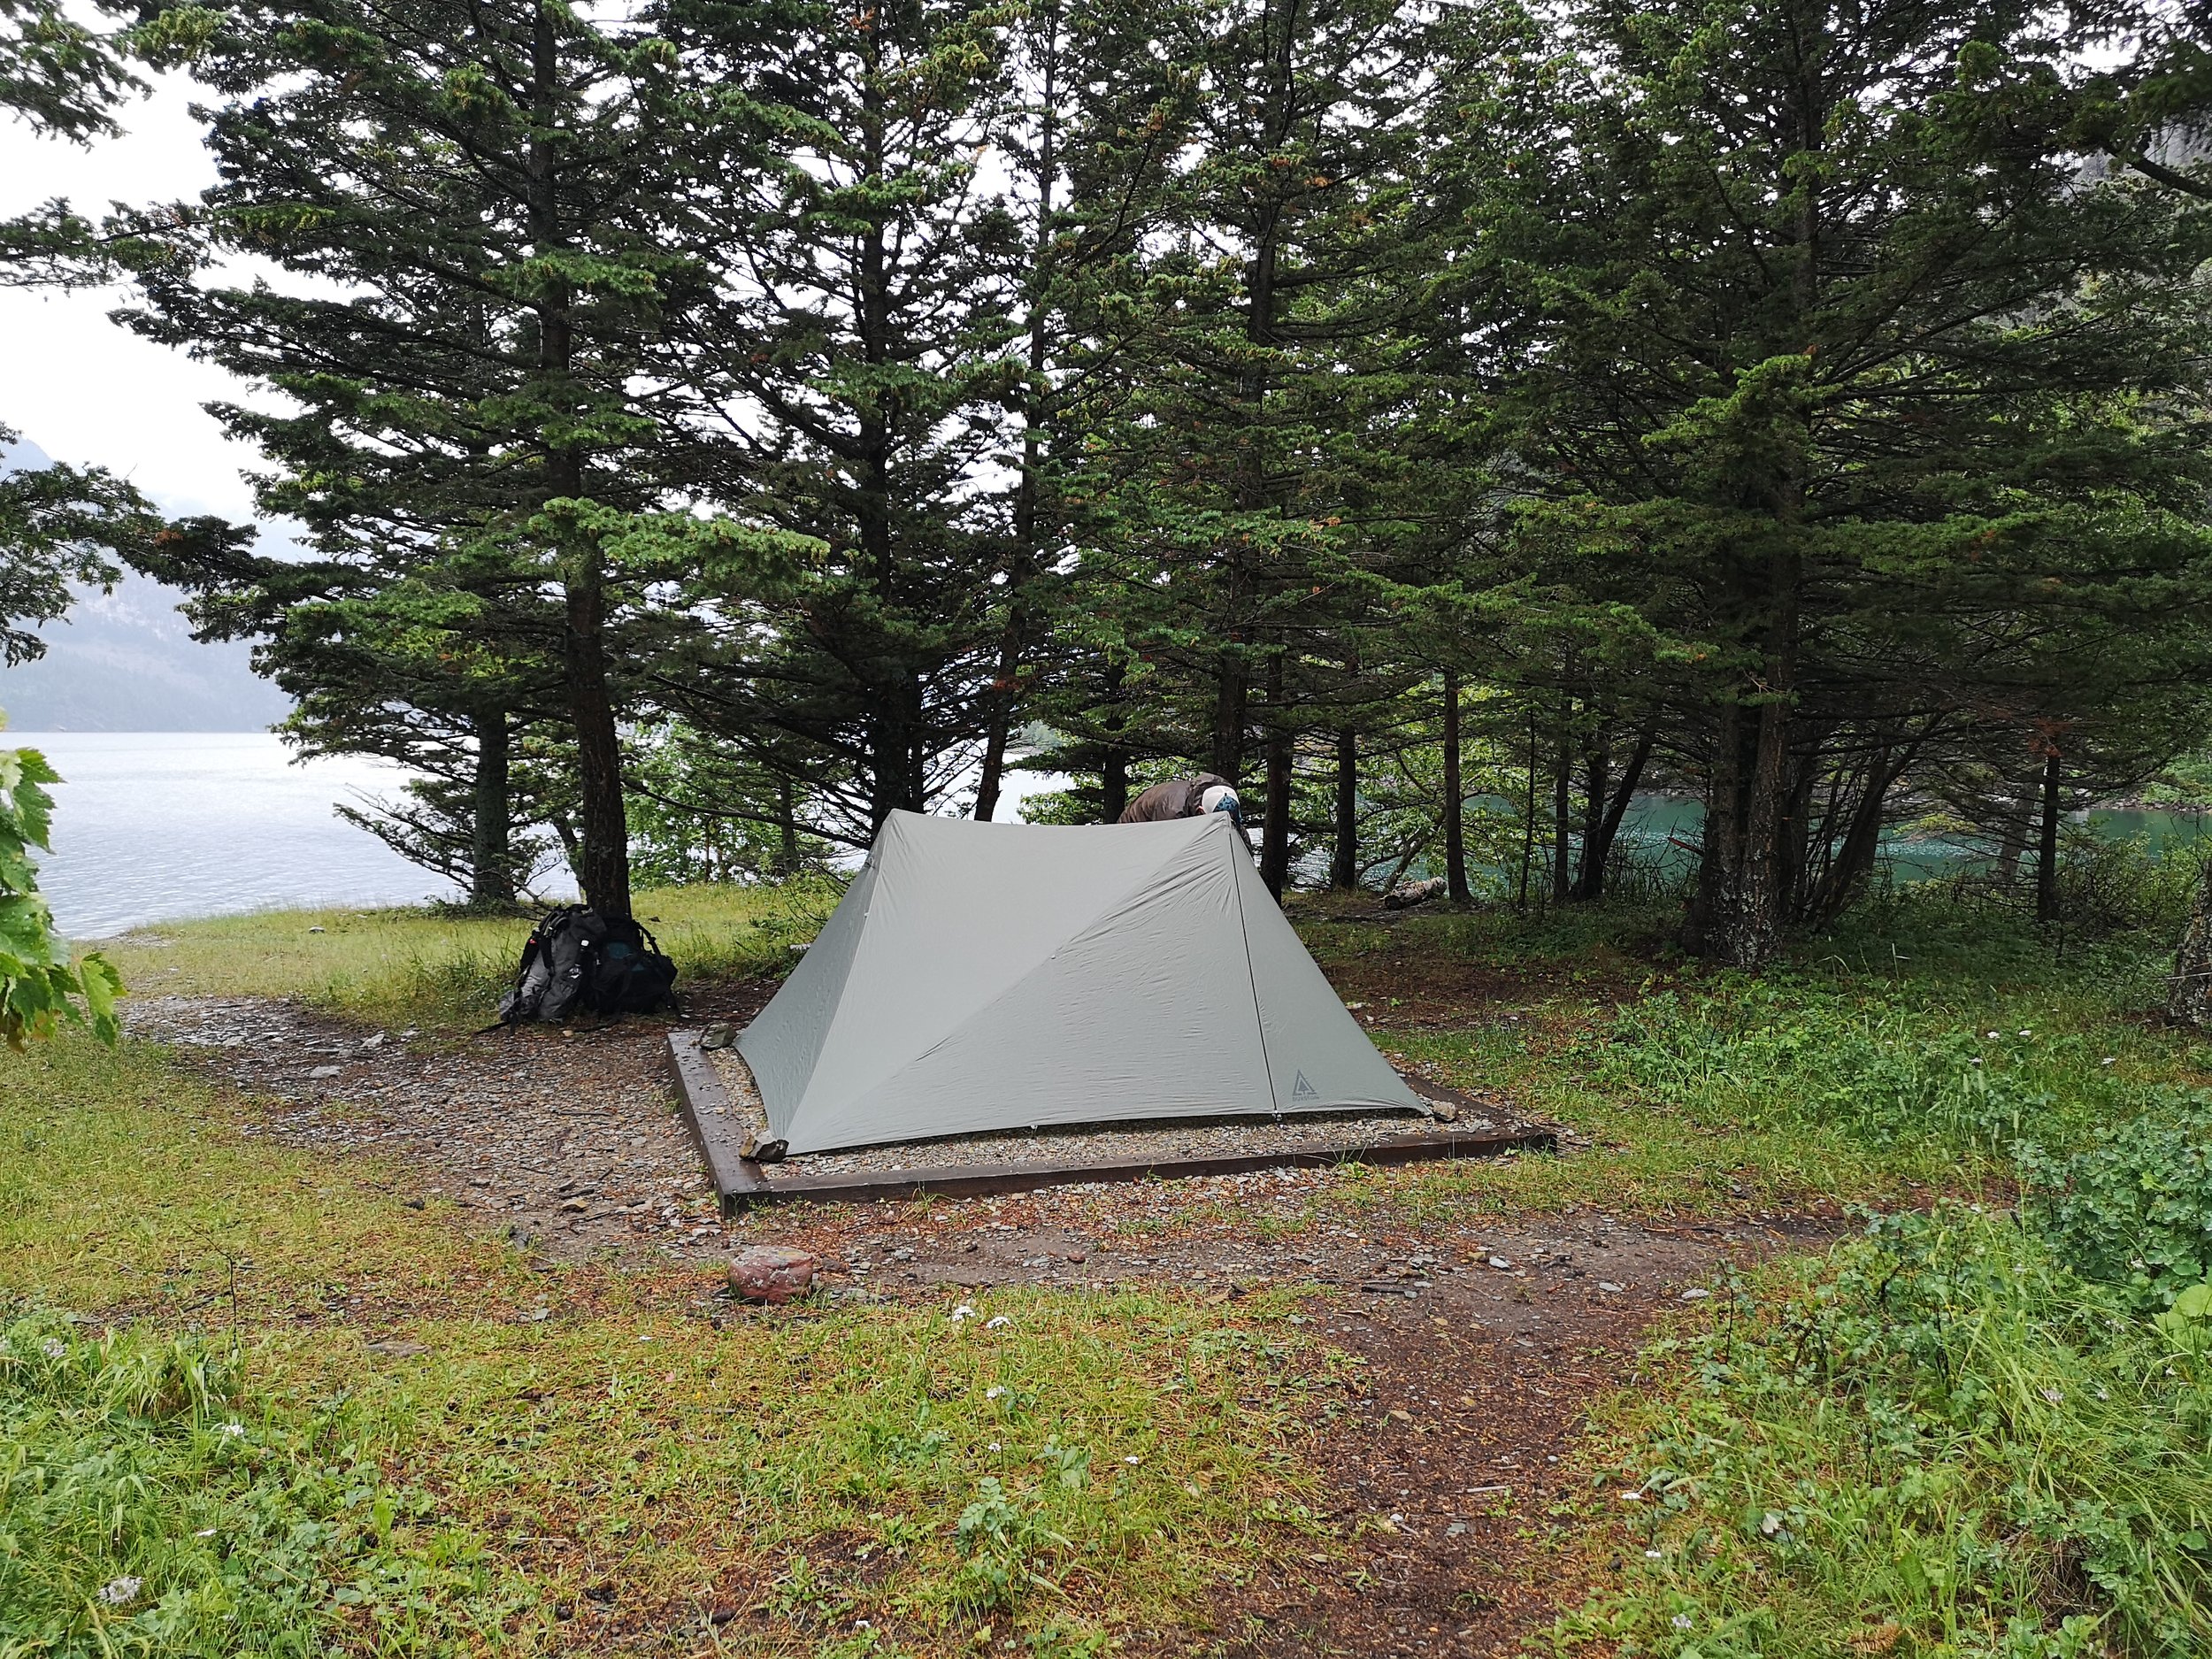
Section A - Bertha Bay
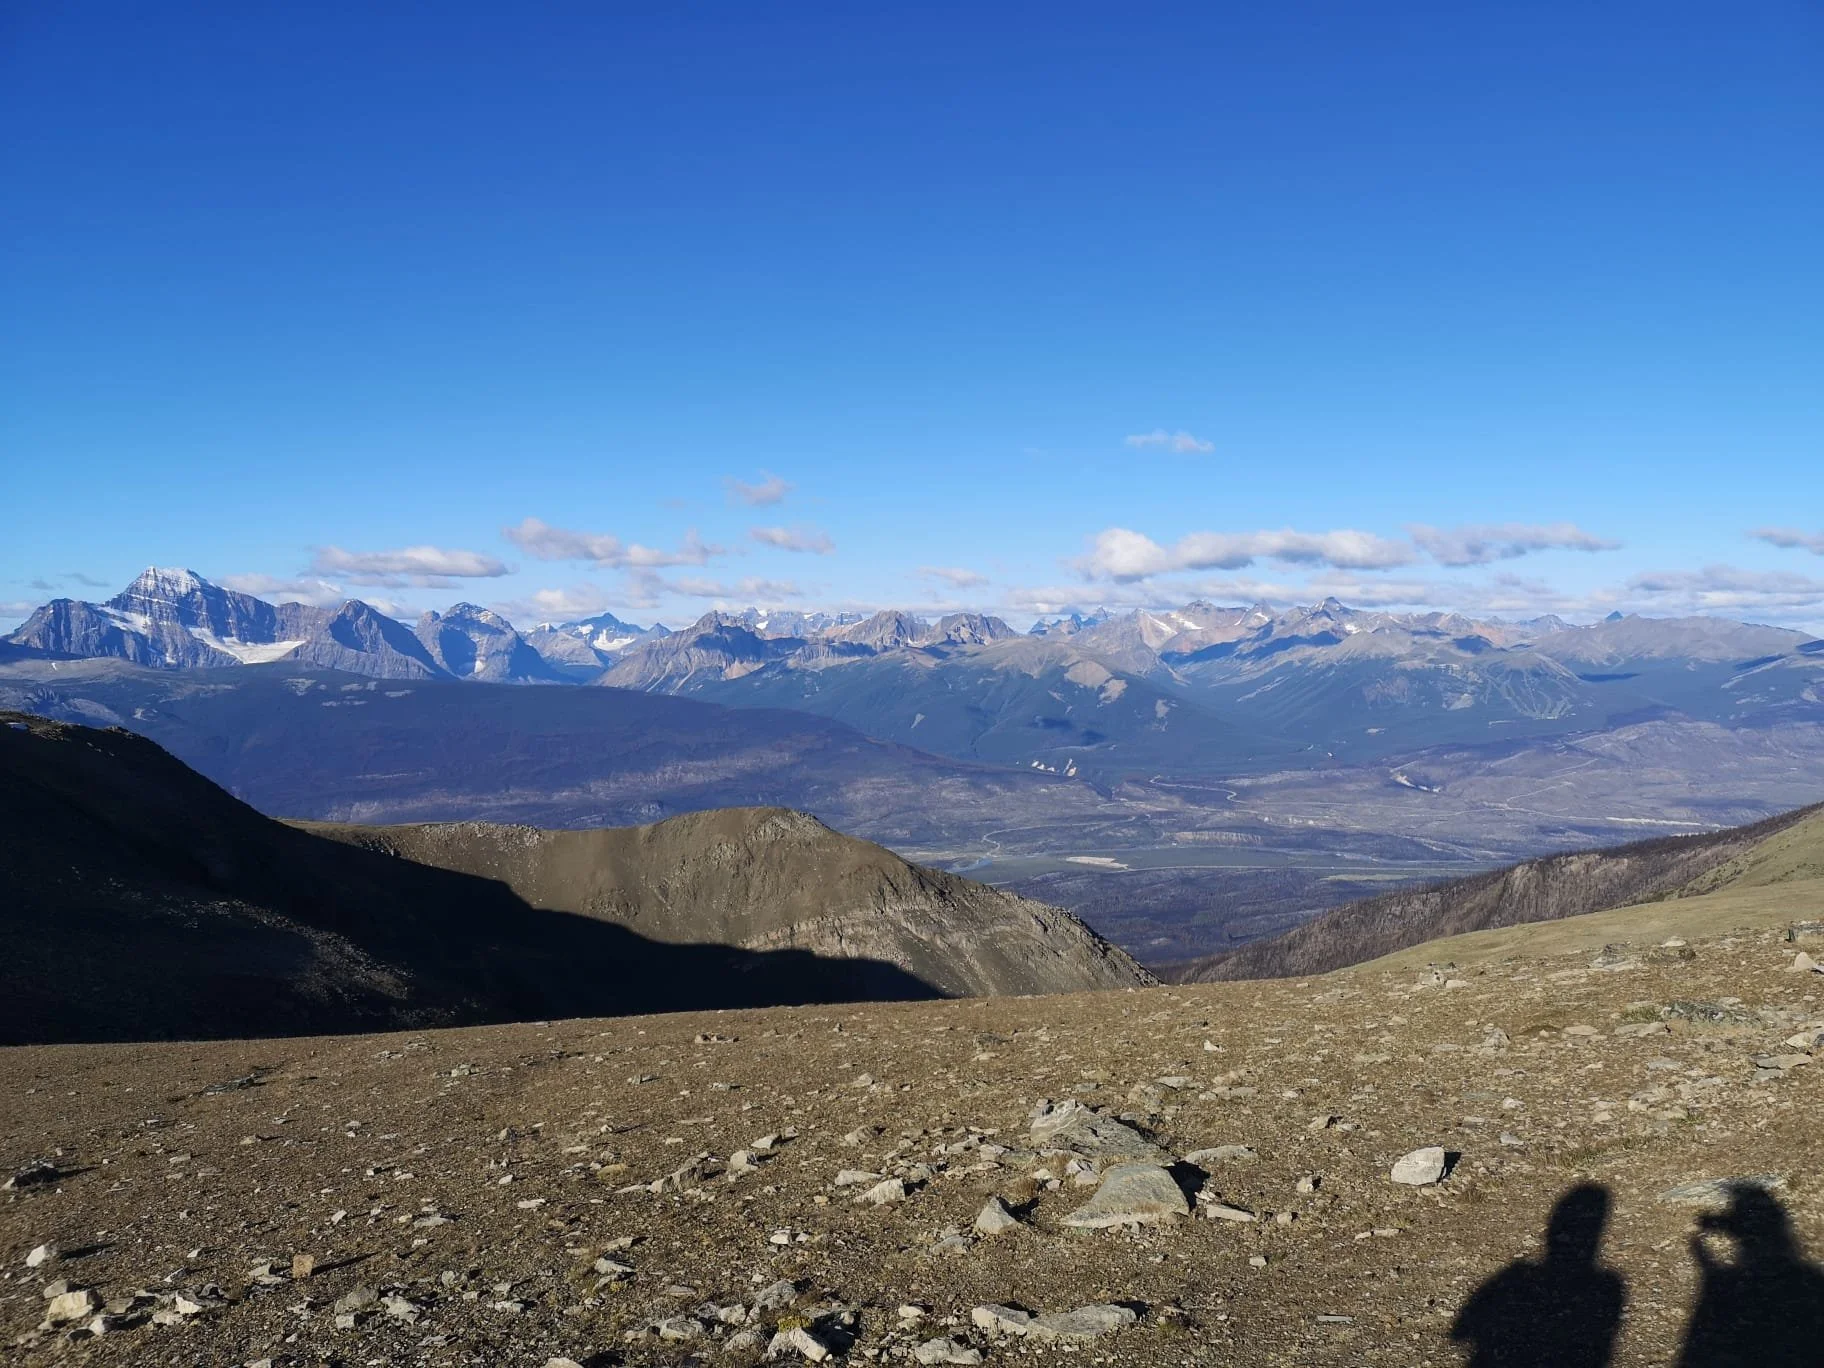
Section E - Skyline Trail Down into Jasper
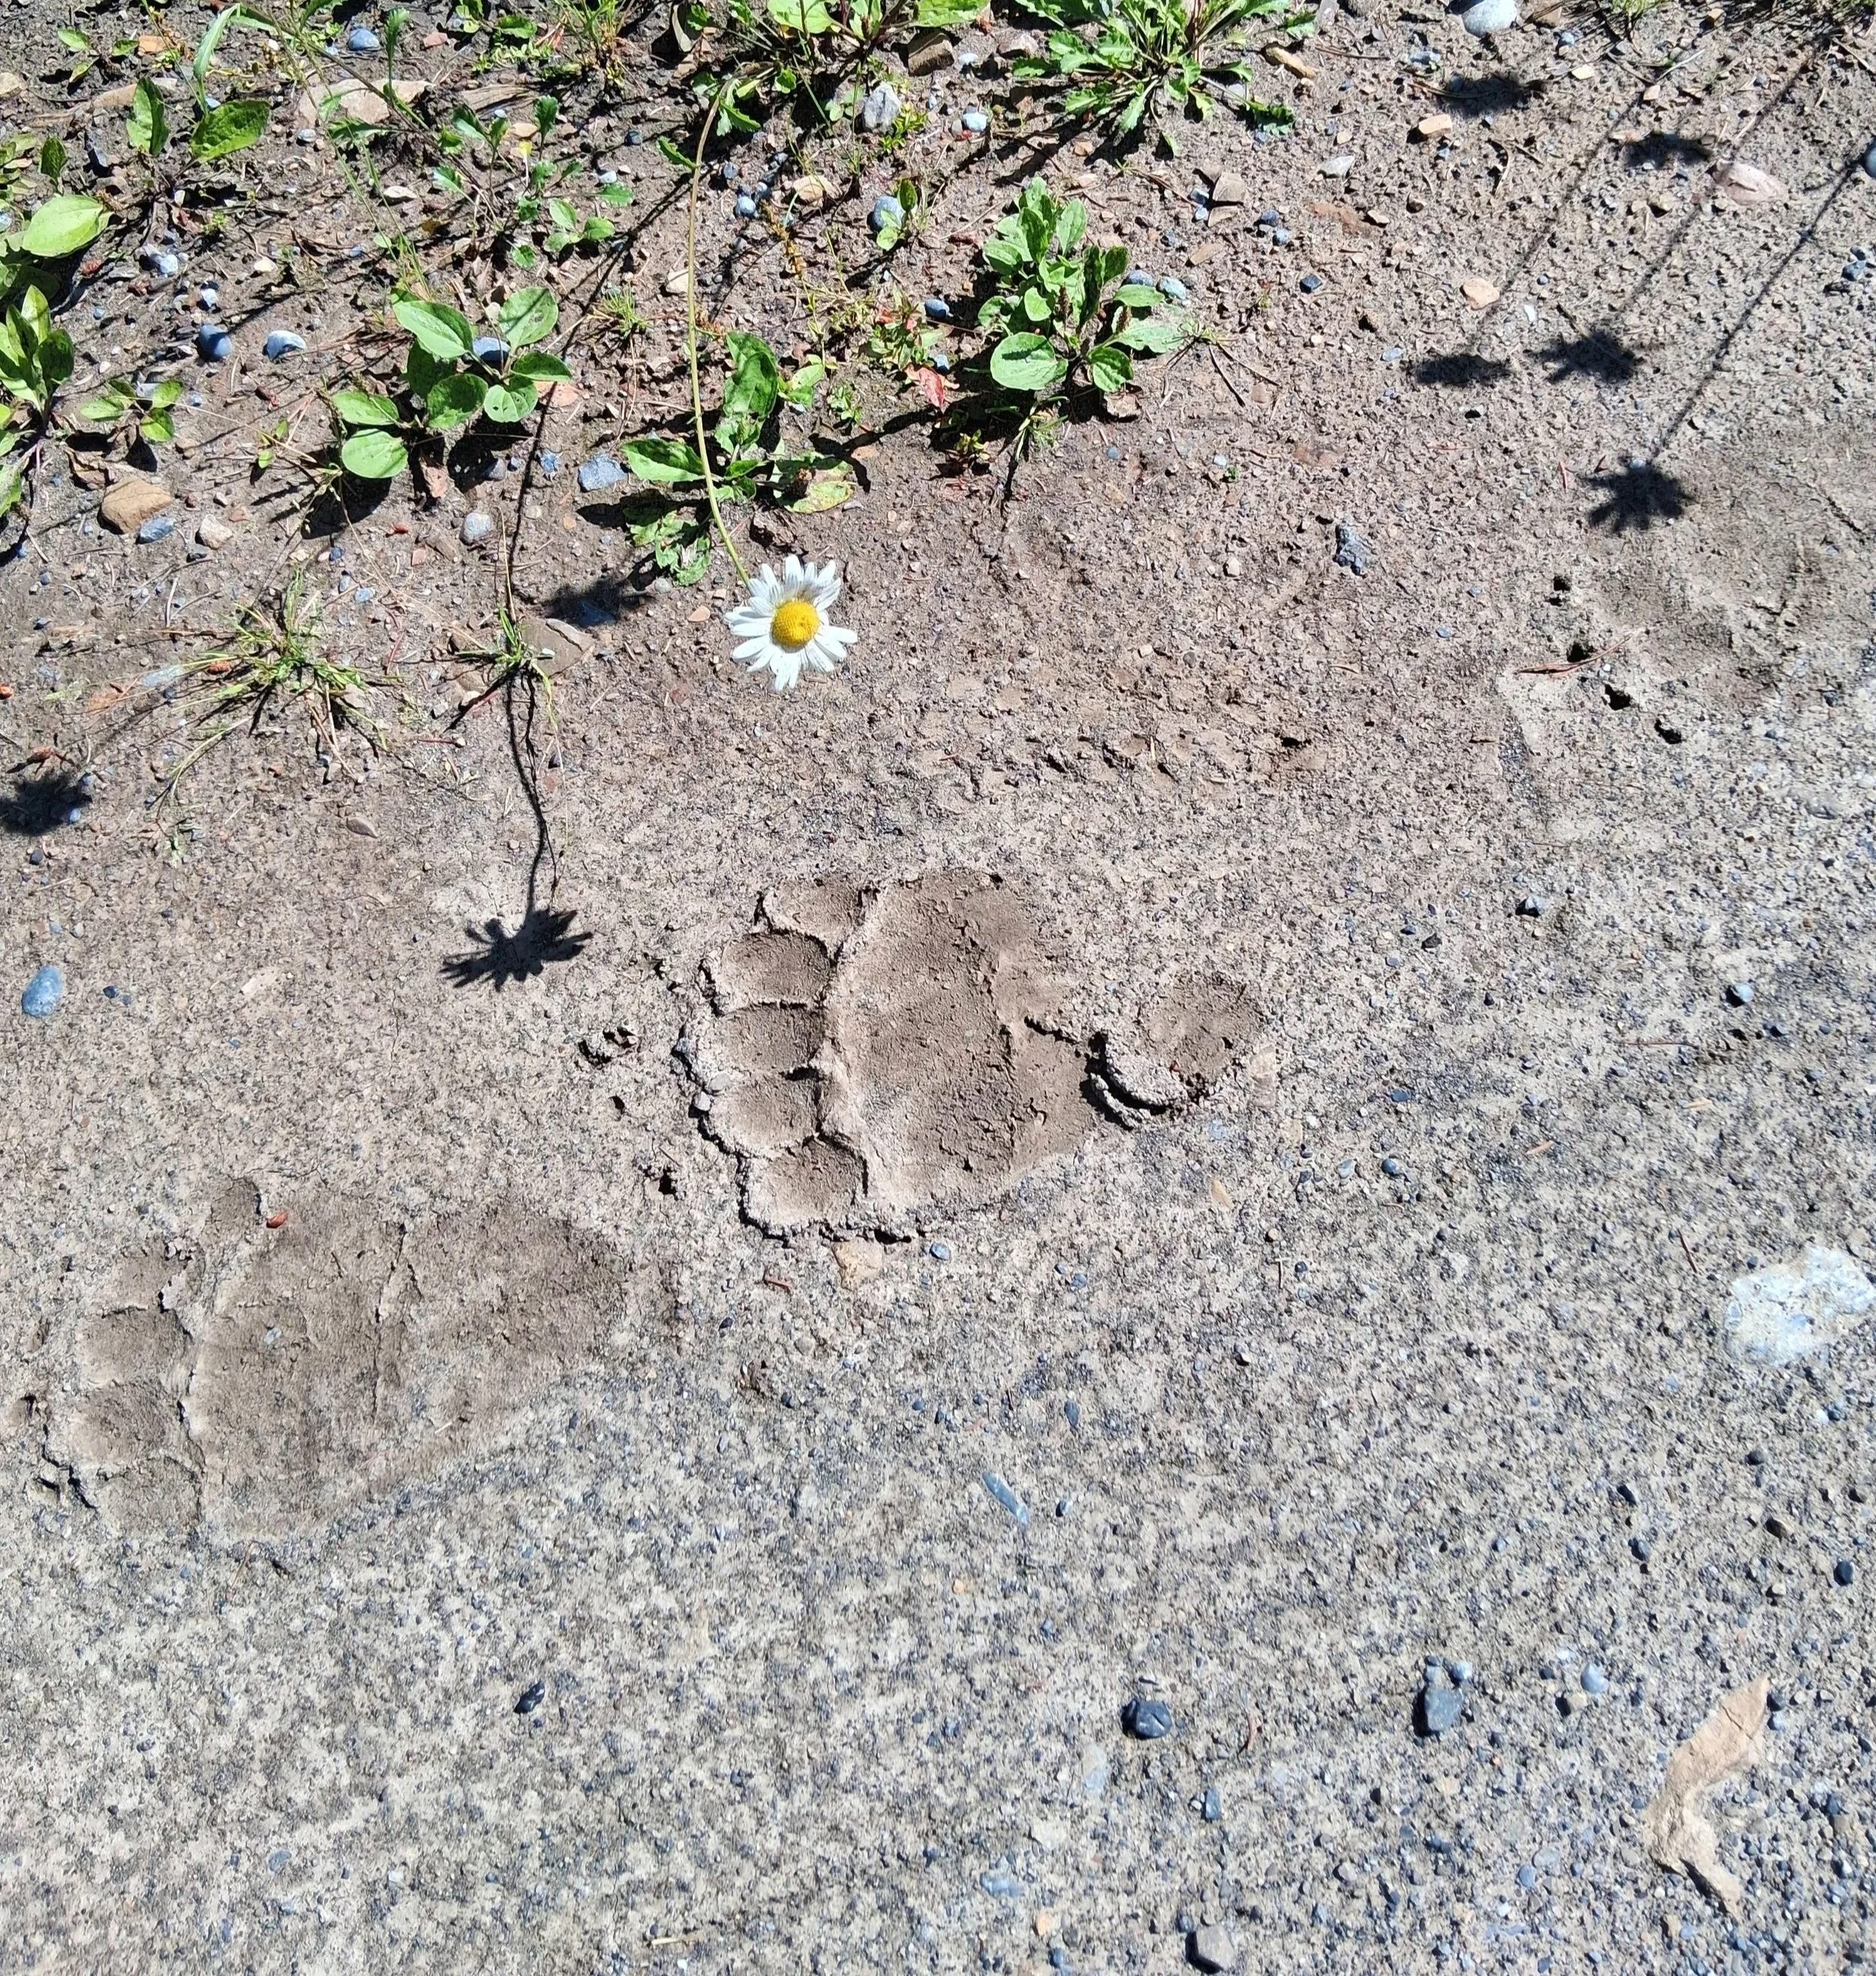
Section B - Black Bear Prints
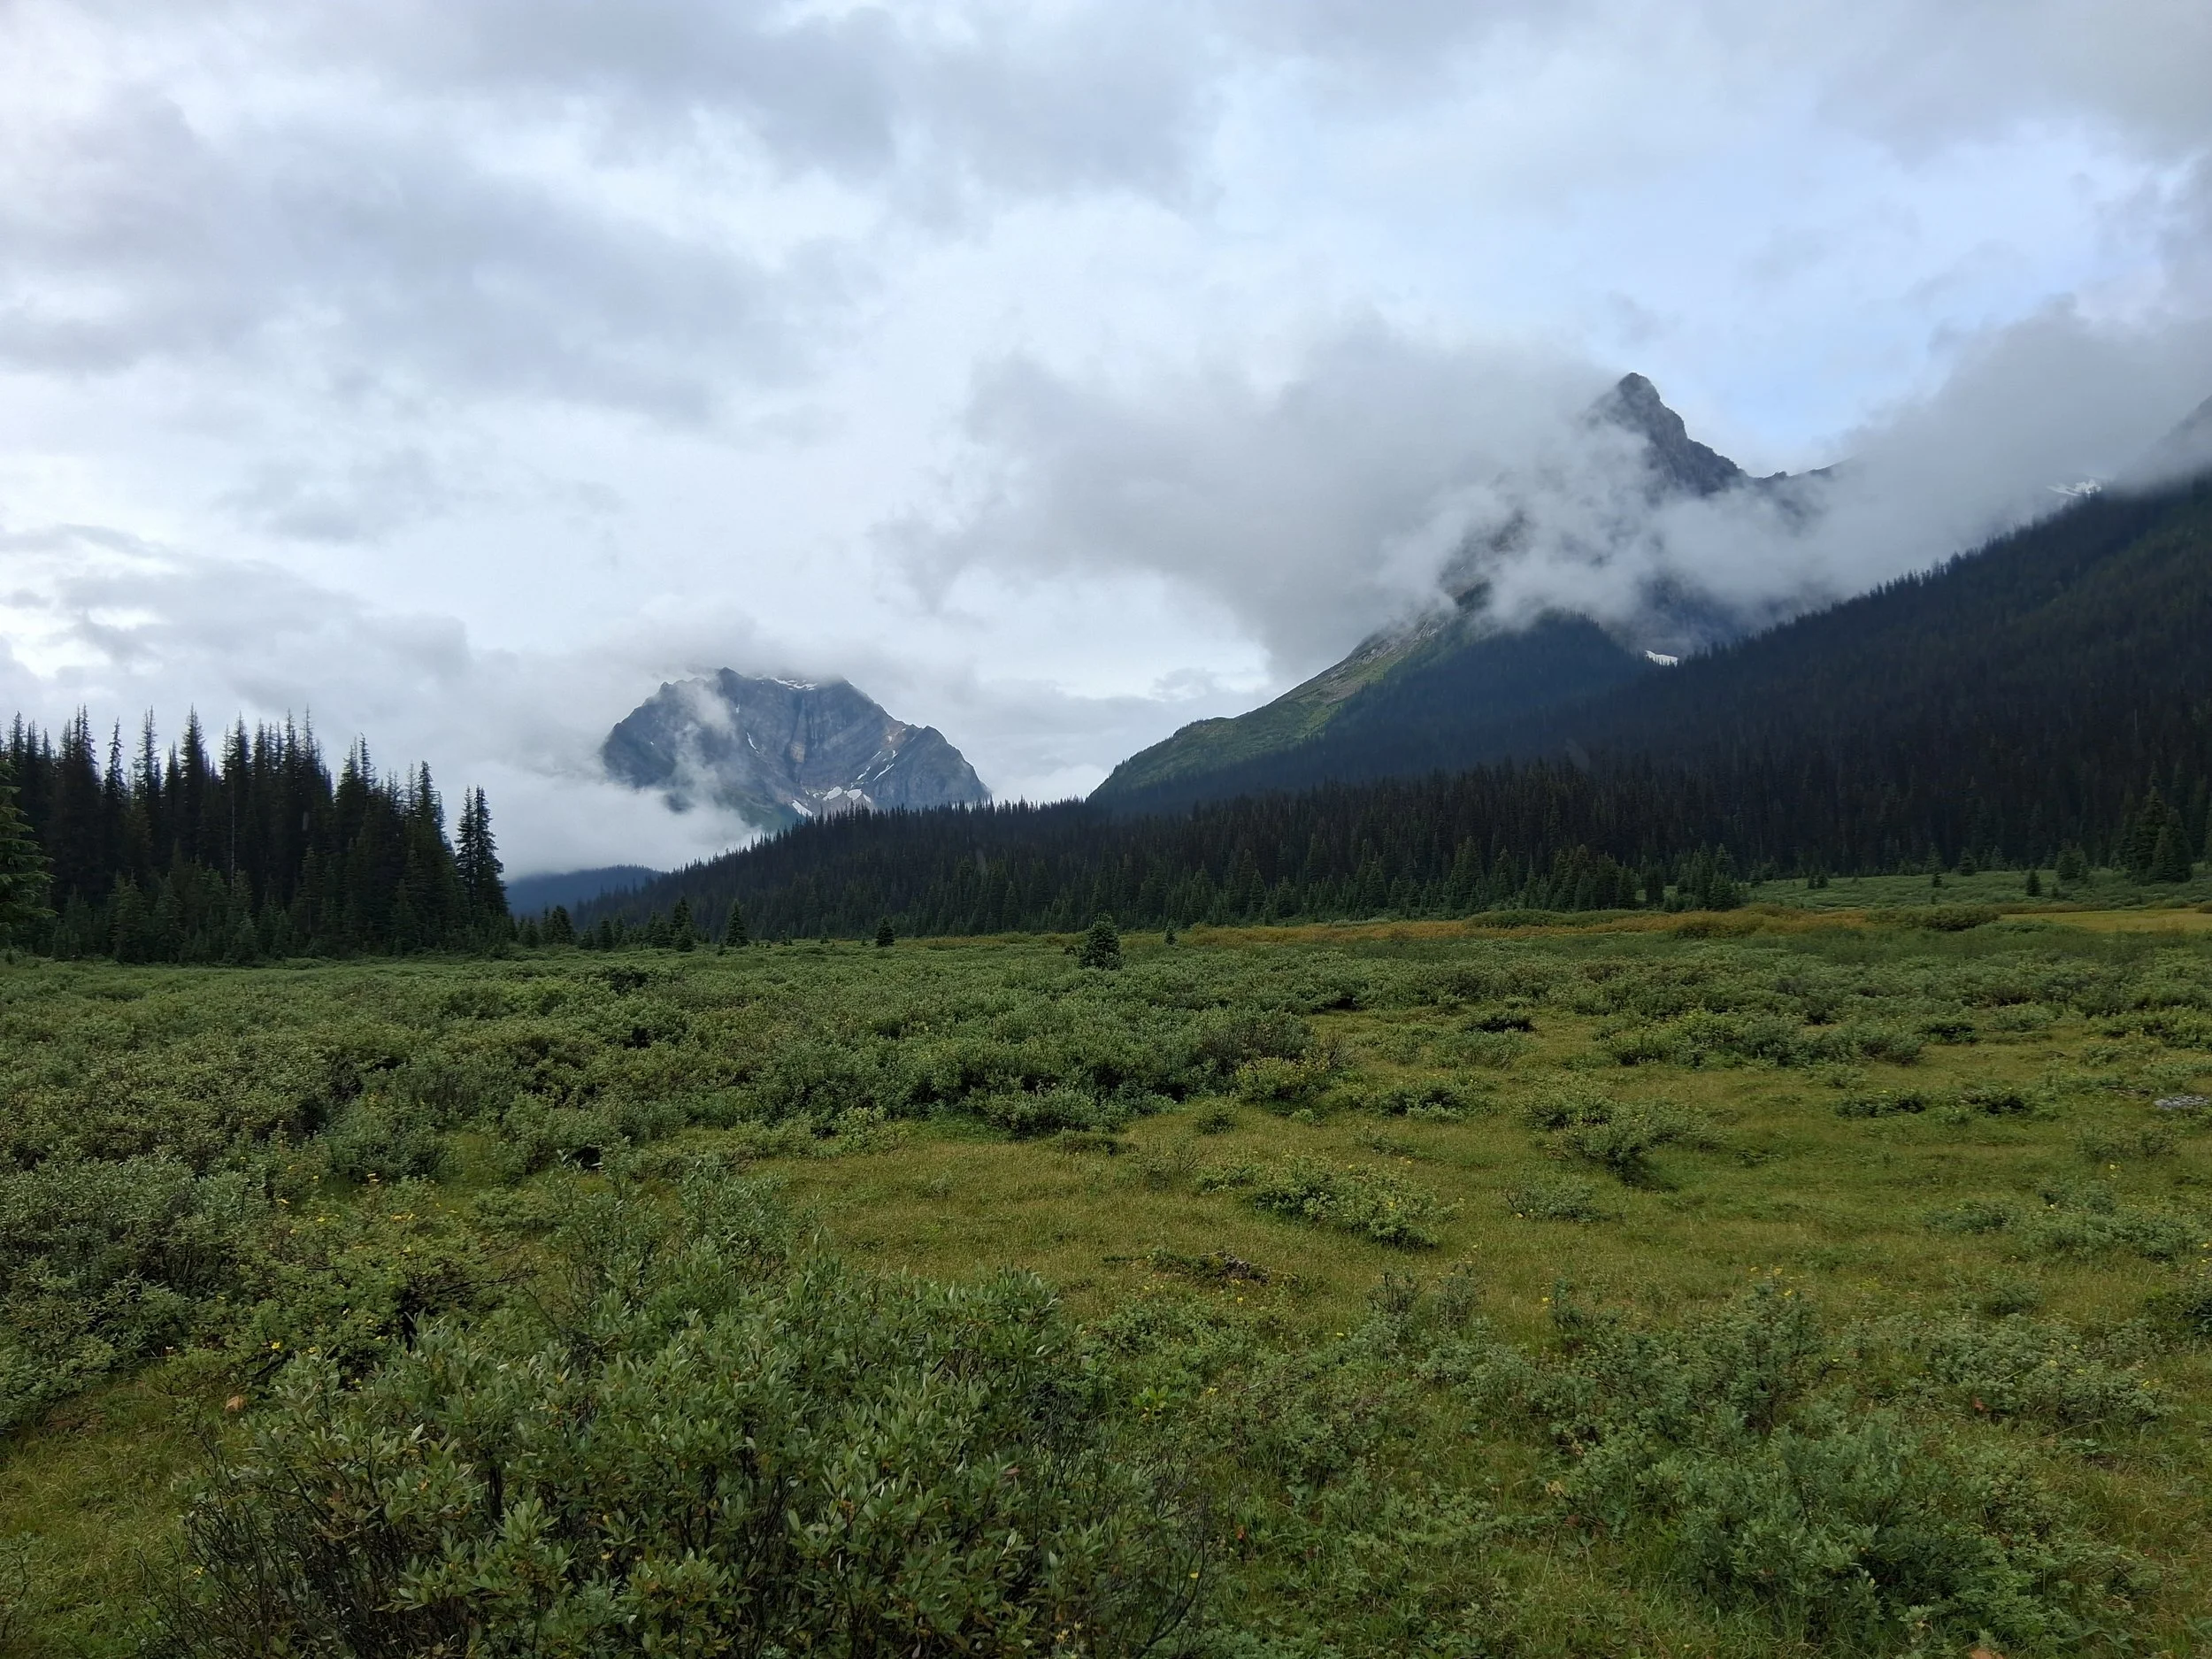
Section C - Entering Banff National Park