
Planning the Great Divide Trail
Ben and Miranda
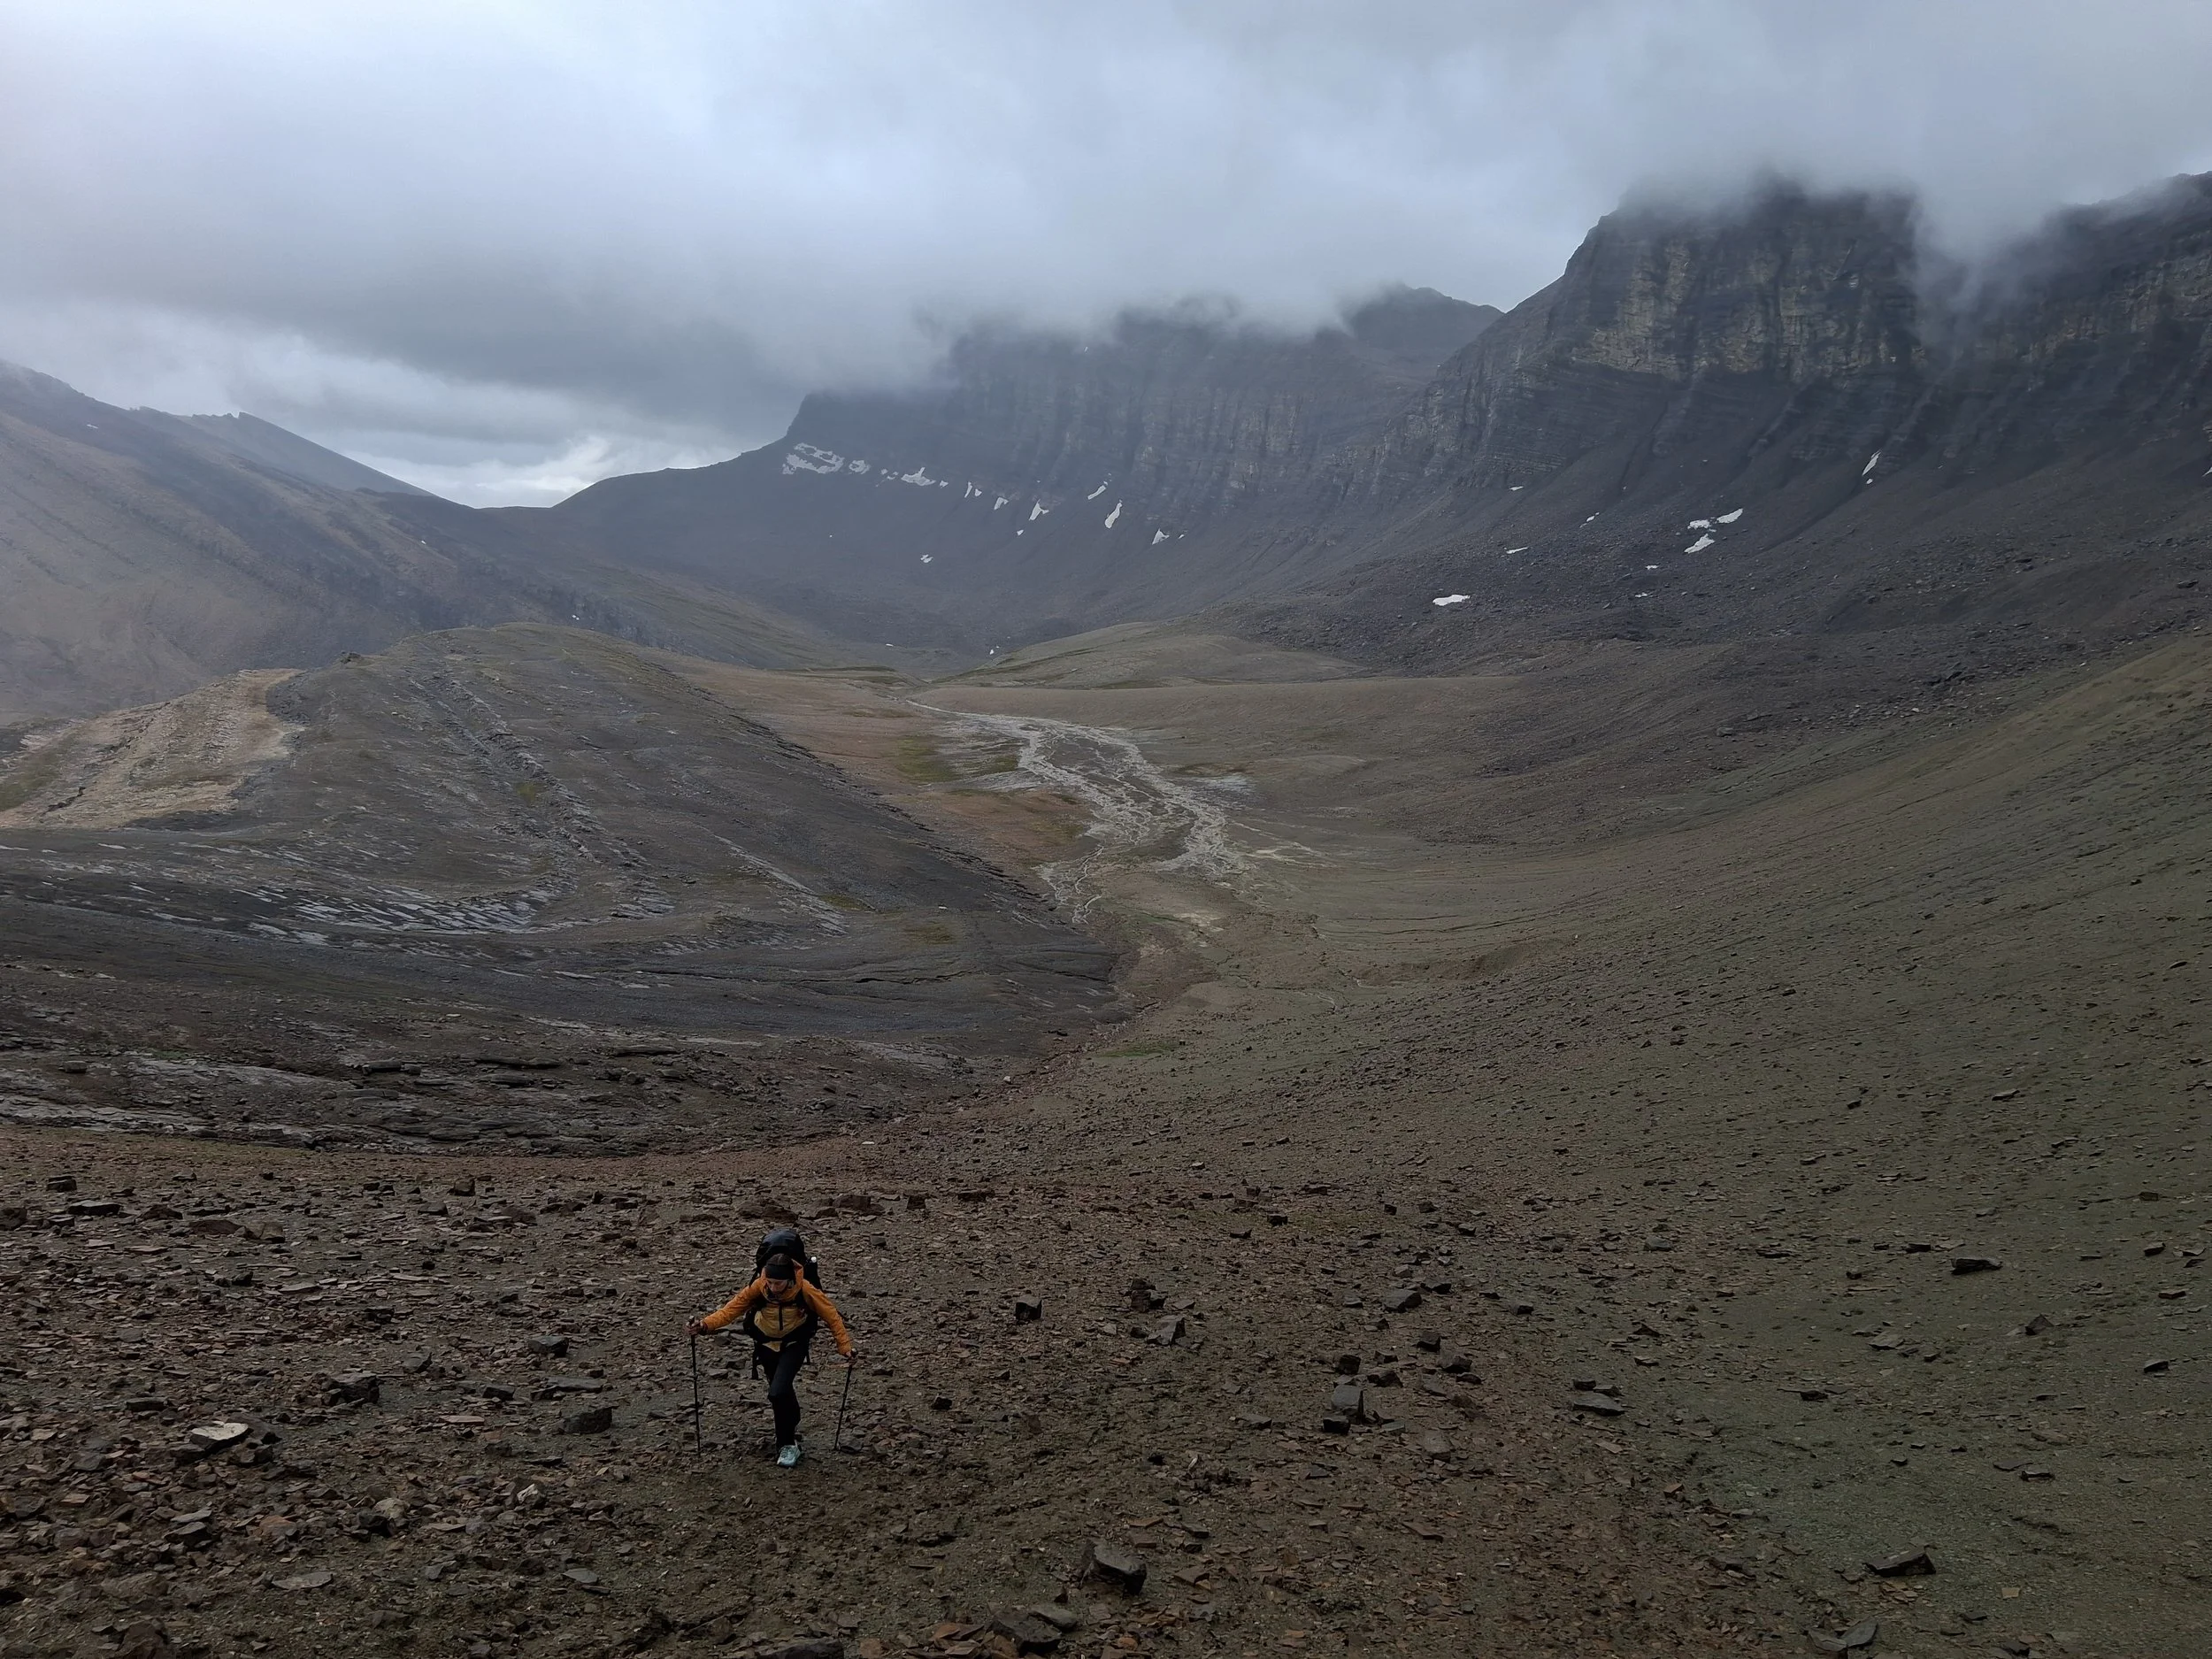
Coming up to the Highest Point of the GDT
The Great Divide Trail traverses much of the Rocky Mountains in Canada; a beautiful yet challenging landscape. Planning the trail proved to be one of the biggest obstacles when we hiked from Waterton Lakes to Mount Robson on the GDT in 2025. Especially coming from abroad (the UK), getting our heads round the permitting process and planning resupplies proved to be a logistical nightmare especially being our first thru hike. We made the mistakes so you don’t have to!
Campsites and Permits
We decided to do this hike far too later… or so we thought. In January, permit opening time, the GDT was just an idea or a dream even. We started buying permits in March only to realise how many had already been taken. So… be more prepared than us and get on those popular campsite on the Rockwall trail and the Iceline trail. Once those main sites are booked fill in around them with what works and try to build in some flexibility. But as they say, “the trail provides.” We worried far too much about the logistics thinking we wouldn’t be able to change campsites, and not realising we would meet the people that not only became our friends, but helped us logistically the whole way!
To start planning our itinerary we used the set itinerary on the GDTA website for inspiration then, well, booked what was left! So this is one unorganised, but possible way of doing it… but if we were to do it again, book those permits that book up fast, early. But equally don’t worry if you don’t get them. The trail does indeed provide, as cancellations commonly come up along the trail. My theory is, people, especially locals, book campsites early in anticipation of being able to do a trip at that time of year. But work, weather and other engagements get in the way meaning they are cancelled late. Also, those who’s itinerates change, cancel as they go along. We worried A LOT about our permits before we went, but really don’t. We even saw that those whom had the best made plans, still ended up making changes along the way, and we didn’t meet a single person who couldn’t make the changes or alternative arrangements.
Some of the campsites need to be booked over the phone and calling from the UK to Canada isn’t particularly cheap! But I must say it is very straight forward and they are very helpful. If you’re also unsure on any other booking, the helpful people at Parks Canada give good advice and can often alter things for you. This can also be done while your in Canada, with the little service you’ll find along the trail. Equally with any other issues along the way, contact the GDTA or pop into a parks Canada office or visitors centre. We found them to be very helpful and patient with our lack of understanding of their booking system!
In terms of actually figuring out an itinerary If we’d had more time and started booking permits when we should have, we would have taken far more
Resupplies
Coming from the UK meant that organising and posting our resupply boxes was not done until we arrived in Canada… the day we started hiking. Although thanks to the help of Bear Mountain Motel and Amazon Canada, we had managed to send some supplies to the motel we were spending our first night in. We were also able to bring 2kg of couscous, of all things, through from the UK, although, come to think about it, customs was a lot more relaxed than we were expecting, so we’d say it’s up to you if you want to take the risk and smuggle in cereal bars. The rules are very contradictory and we know people that bought entire months worth of food with them. We sent our resupplies to, Elk Pass trail head lockers (GDTA managed), Sunshine Village and Saskatchewan River Crossing using Canada post, everything arrived on time and completely intact, so no complaints there. Yes it was a stressful morning putting together resupplies, while severely jet lagged and while trying to concentrate on storage wars, but it all turned out perfectly which does show it can be done in a rush, by unorganised hikers. If we were to do this again, we’d definitely send more resupplies to additional locations as we did have to shop in Blairmore and Jasper as well as topping up resupplies along the way and at some points carrying a lot of food. Seven days of food for hungry hikers weighs rather a lot, especially in an ursack that absorbs water all night long. We would send extra resupplies to Field or Golden, depending on where you stay for your zero day (would highly recommend dreamcatcher hostel in golden). Also, Coleman and Jasper to keep costs down, some expensive food in Jasper, and to give you more options for better high calorie, low weight food.
Where we would send packages to:
Coleman or Blairmore Post Office
Elk Pass Trailhead Lockers
Sunshine Village
Goldens Dreamcatcher Hostel (if you stay in golden)
Saskatchewan River Crossing Resort
Jasper Post Office
Bear Safety
Now this is a point that will put some on edge, or even stop some people hiking all together. Especially those, like ourselves, who come from a country with no predators that pose any threat to people. Bears turned out to be no issue what so ever for us on this hike and we attribute that to learning the correct safety precautions. Of course walking as a pair was an advantage over walking solo, as its easier to consistently make noise and the more people, the less likely a bear is to approach, safety in numbers. We are by no means qualified to lecture people on bear safety, hence we would encourage anyone hiking in bear country to watch a full bear safety video such as this: Bear Awareness and Bear Spray Virtual Course - May 20, 2021. This shows what to do for different types of bears, in varying situations, whether it be male, female, Grizzly, Black and with or without cubs. However, some take home points, of which we saw a mixture of mistakes made, would be to ensure all items that have a smell are stored in the a bear proof container and kept well away from camp, also, eat equally far from your camping spot. Make plenty of noise when hiking; we scared many bears off while hiking before any encounters. Just seeing something run away into the woods as you round the corner is quite comforting as it shows it works. Of course, always carry bear spray and have it somewhere accessible. Keep it with you at all times, even if you just put your bag down to collect some water or set up your tent. Finally, it is not just you that your actions impact! Just because you’re leaving a campsite it doesn’t mean you should eat in your tent or leave food round your campsite. It can cause issues for someone that may be there the following nights, and potentially impact their or the bears life. We saw just the 1 bear on the whole trail but saw signs daily, them running away from us making lots of noise and once or twice heard them outside the tent but nothing but passing by. Not being used to this lead to the odd sleepless night! Finally, watch that video, consult the GDTA website as well as the Parks Canada website and remember at the end of the day your the one in their home.

Bear Spray
Nutrition
Nutrition and bringing the right food on trail was yet another learning curve. We posted some resupplies but once the hiker hunger kicked in we realised we would have to buy extra along side! Now, high sugar foods are easy calories but not a good source of nutrition and this is a slight mistake we made early on in the hike. Where we were getting hungry and finding resupplies to be lacking, we topped up with what we could find. Sugar filled high calorie bars. Although this filled us up and on paper gave us the extra calories and energy we needed, we felt lethargic and tired. I’m sure someone far more qualified than we are could explain the science behind this, but essentially it causes immediate high, followed by immediate low blood sugar levels, a sugar crash! Once we reached a town with a little more options we were able to reduce our sugar intake and drastically improve our nutrition. We opted to switch high sugar snacks out for nuts and dried fruits containing significantly less and natural sugars.
So we aimed to start at 3500 calories per person per day which was about right for the first week and them bumped it up to 4500ish after that and even as high as 5000 calories by the end. Stepping up like this seemed to work well and we kind of figured, no matter what we eat, we will still be hungry. There are a few tips and tricks known by many thru hikers we leant along the way that really helped us. Firstly, adding olive oil or peanut butter to meals can bring up calories somethimes by a couple of hundred per meal. Also, with healthy fats! Dark chocolate after an evening meal also helps top up calories but also works as an appetite suppressant helping you feel full for a little longer. Proper nutrition is so important in trail ensuring you stay healthy and have the energy to crush big mile days.
Daily Intake (Ben)
Breakfast - Oats, Dried Fruit, Powdered Peanut Butter, Protein shake
Snacks - Trail Mix (Nuts and Dried Fruit) 300+ Bars (e.g. Cliff bars) x2
Lunch - Couscous, Grated Cheese, Dried Meats, Dried Vegetables (also can substitute Couscous for Wraps)
Electrolytes
Dehydrated Backpacking Meal (try and look for 1000 calories +) Olive Oil, Dark chocolate
Daily Intake (Miranda)
Breakfast - High Calorie Bars x3, Dried Fruit, Protein shake
Snacks - Trail Mix (Nuts and Dried Fruit) 300+ Bars (e.g. Cliff bars) x2
Lunch - Couscous, Grated Cheese, Dried Meats, Dried Vegetables, Olive Oil (also can substitute Couscous for Wraps)
Electrolytes
Dehydrated Backpacking Meal (try and look for 1000 calories +) Olive Oil, Dark chocolate
Training
A bit of a sweeping statement, but training for a hike isn’t particularly difficult. Yes we are young and that does make a world of difference, but many people “train on the hike” and we kind of did that a little too. Start the first section, maybe even first two, with lower miles and slowly build up the distances as you go and as feels comfortable. But in terms of training before hand, nothing beats getting out on trails as much as possible hiking with the kit you’re going to be using. We prioritised hiking with our packs over all else, however, we do attend the gym and focused on hiking specific exercises leading up to the hike. This included a lot of leg and core work to improve strength but primarily to prevent injury on trail. For hikes since, we have continued to train cardio and endurance, but try to tailor our strength training around reduce injury risk. We would suggest a well rounded routine training all areas of the body as we are firm believes that your body is only as strong as its weakest parts. But priorities exercises like step ups, and step downs, squats and of course cardio such as running, cycling and swimming. Also, work on mobility. Stretching as well as working and understanding the mobility in your joins further help to reduce the risk of injury. Try exercises like frog squats, hip switches, pike leg lifts (single or double) and Ashwa Sanchalan pose (Google it). Now we are no experts but these are things we have found to work well for ourselves. Equally to physical training, learning your gear is a part of training. Understand how to use it and make it like clockwork before you get out there makes life easier and more comfortable when you get to camp and when conditions turn for the worst.
Our Gear
Your gear is what protects you from the elements so ensuring you have the right stuff helps keep you safe and comfortable on trail. We managed to get our gear pretty well dialled in with just a few minor changes we have made since. Most of those changes came about from trying to keep the cost down on the GDT. Since we have changed down jackets, spork for spoon, toothbrush for Trail-brush and a change in Mirandas’ pack.
We spent our money on the tent, quilt, pad and packs. The tent is the Durston X-mid 2 and we were extremely pleased with. Lightweight, durable, spacious and easy to set up. Its well known by now how good these tents are so won’t go into to much more detail, but couldn’t recommend them more. We opted for a double sleep system as opposed to two singles to save weight and due to the fact we mostly backpack together. For the pad, we went for a Big Agnes Rapid Sl double wide pad. Comfortable, lightweight and very warm. We paired this with an Enlightened Equipment Accomplice (review coming soon) which was extremely warm, light and comfortable. This sleep system was perfect. We never got cold, it helped keep our packs lightweight and good rest is what is really important to keep you hiking well on trail. Now we have made a change with packs, but the Durston Kakwa 55l and the Osprey Aura LT 50l (which has now been changed). The Kakwa performed very well and has remained a pack of choice but the Osprey was changed as it turned out not quite so comfortable especially round the hips. This is likely just the pack not suiting the body shape. Also, packing into the bag proved to be a slight issue, but again, this is not a gear review!
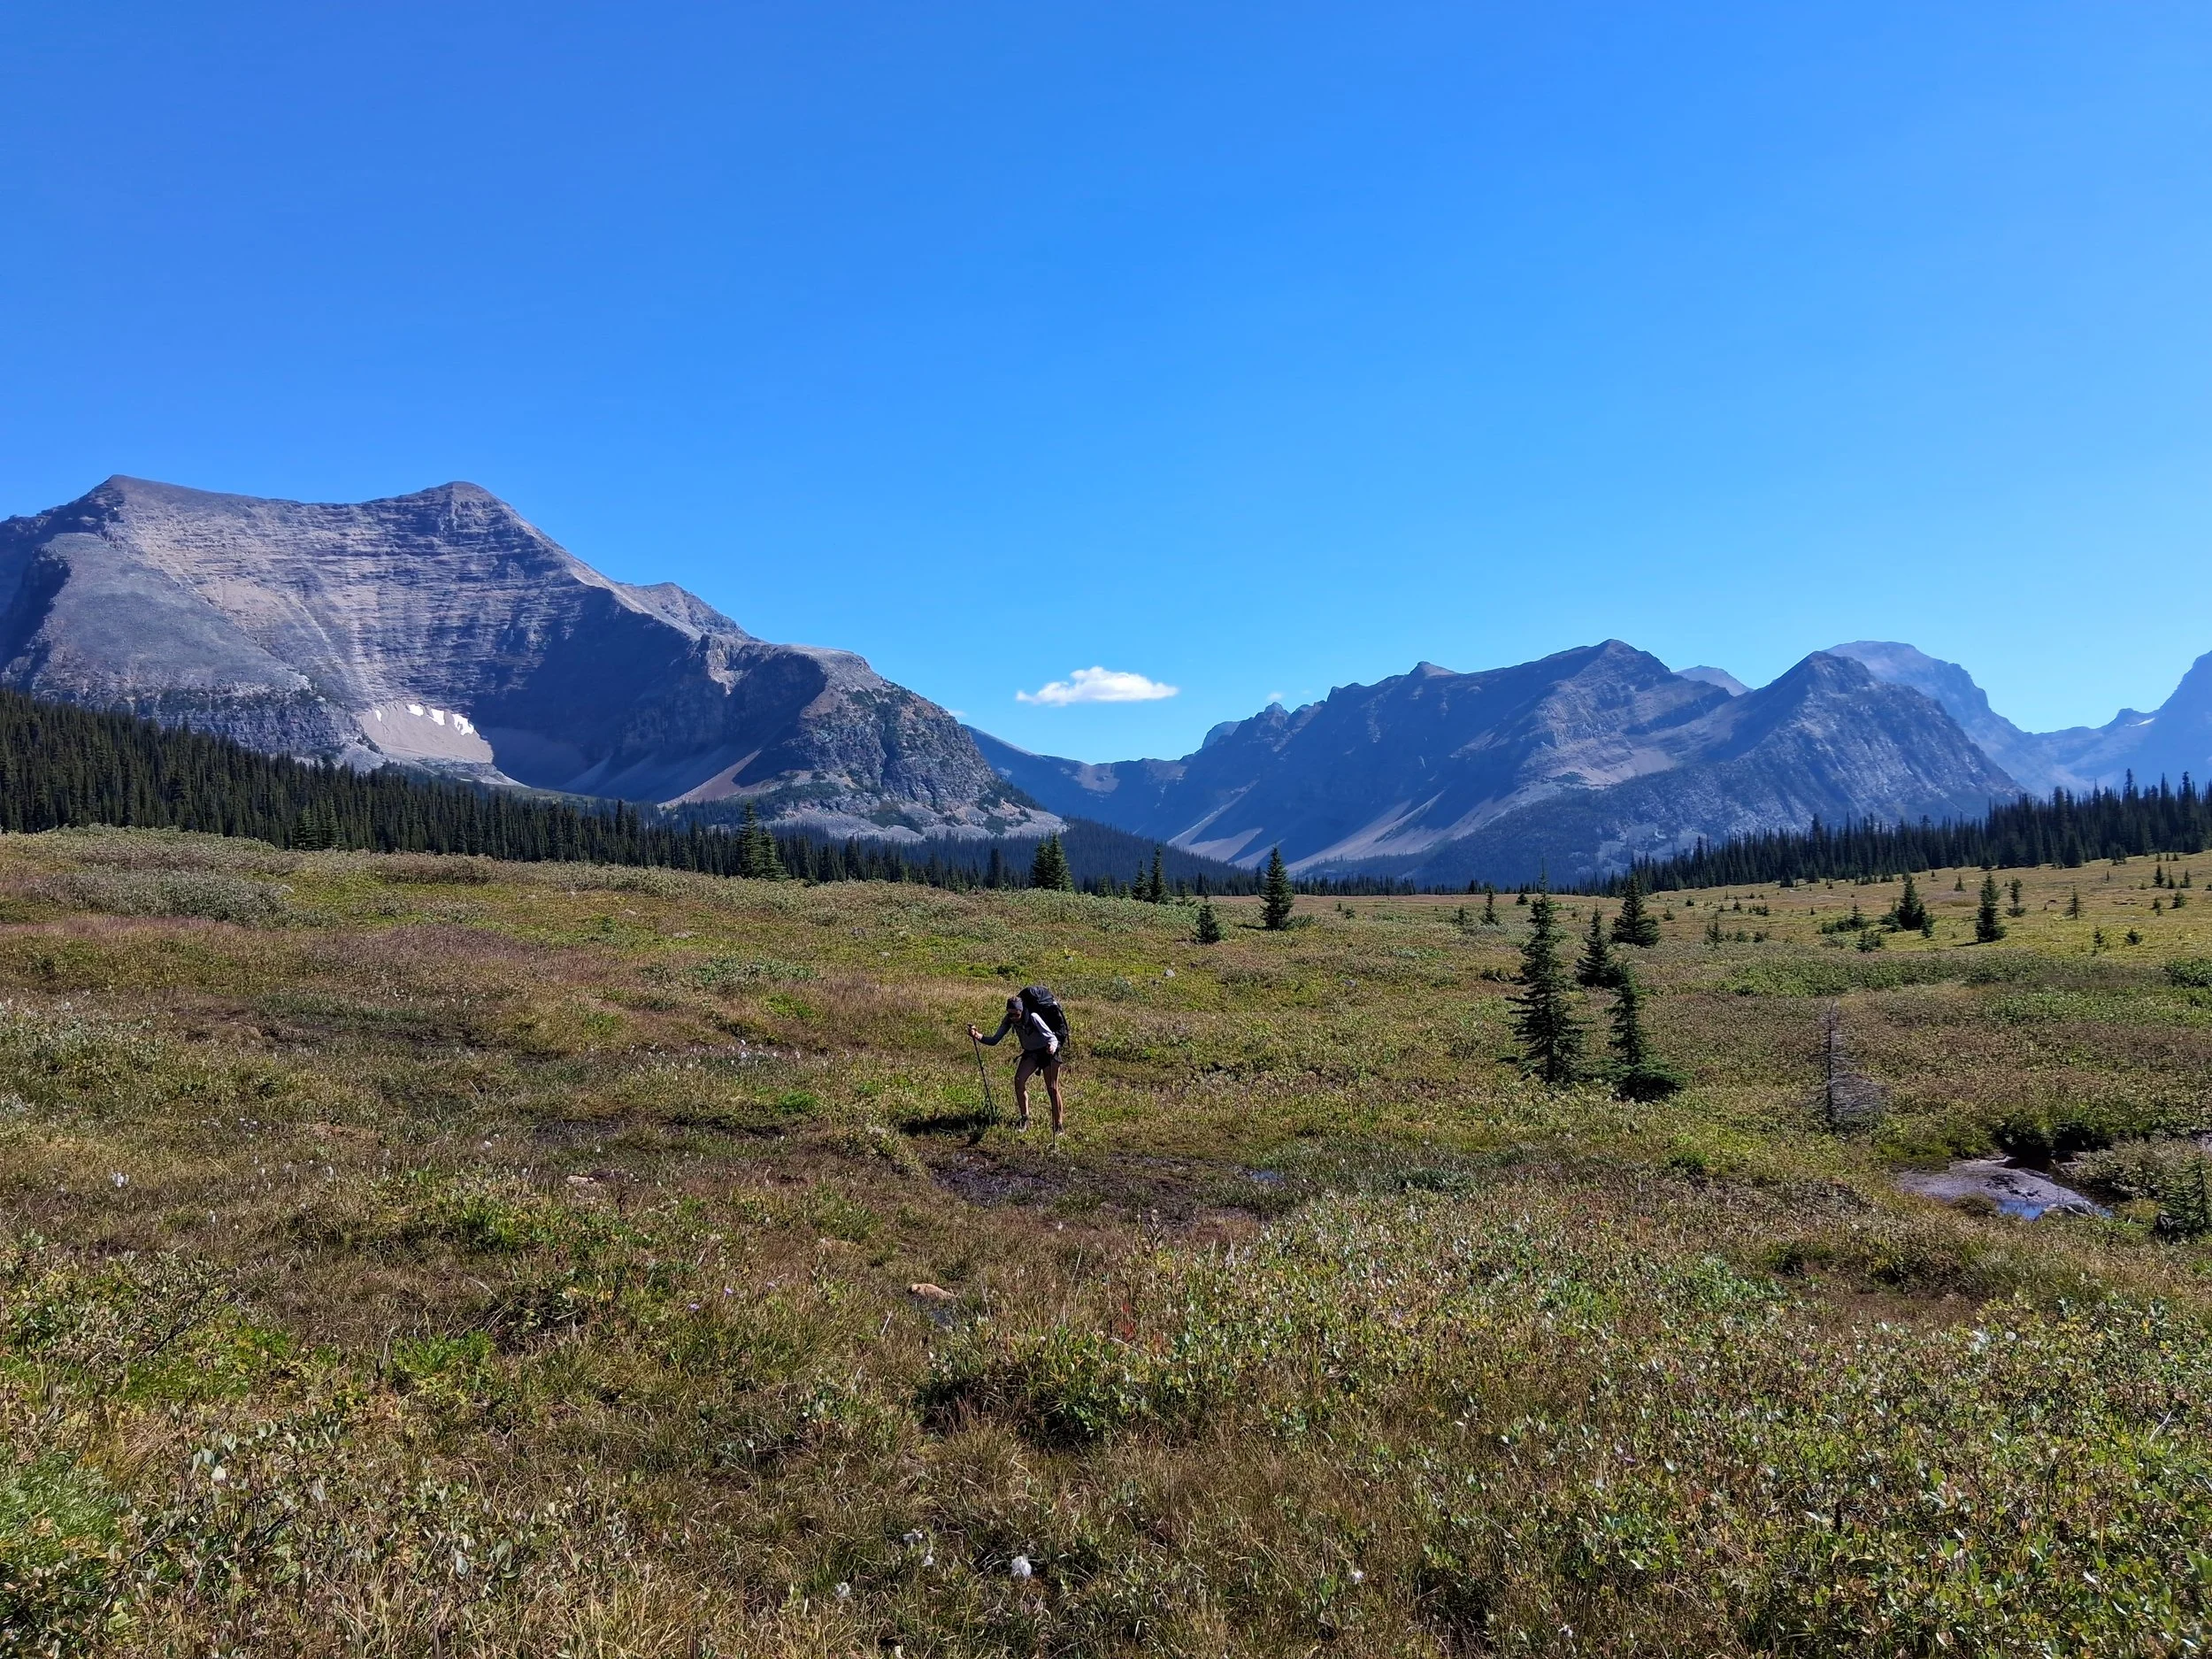
Day 2 Section F
Bens Pack List
Pack - Durston Kakwa 55l + Liner
Pad - Big Agnes Rapid Sl Double Wide
Pillow - Sea to Summit Aeros Premium
WP Jacket - Patagonia Torrentshell
WP Trousers - Northface Dryvent
Down Jacket - Mountain Equipment Lightline (Changed to RAB Mythic G)
Fleece - RAB Nexus Jacket
Hiking Trousers - Terrex (No long bring on summer hikes)
Shorts - Patagonia Multi Trail Shorts
Sunhoodie - Black diamond (Changed to Fjallraven Abisko)
Socks - Darn Tough Mid weight x2
Sleep Top - Craft (Changed to Icebreaker)
Sleep Trousers - Icebreaker
Underwear - Danish Endurance
Gloves - Sealskinz
Hat - Basic Merino Hat
Buff - Merino Buff
Trail Runners - Altra Lone Peak 9+ (Changes to TOPO Traverse plus Gaiters)
Pot - Toaks 550ml
Stove - MSR Pocket Rocket 2
Spork - Sea to Summit (Changed to Toaks Long Handled Spoon)
Water Bottles - Smart Water x2
Water Filter - Sawywer Squeeze (Changed to Kataden BeFree)
Power Banks - Anker 20,000Ahr
Watch - Garmin Fenix 5x
Cables - Garmin Cable, Type C, Ledlenser Cable
Headlight - Ledlenser HF4R Corse
Sunglasses - Goodr
Tooth Brush - Bamboo (Changed to Trailbrush)
Repair Kit - Tenacious Tape, Super Glue, Pad Patches
Mirandas Pack List
Pack - Osprey Aura LT 50l (Changed to Gossamer Gear Gorilla 50l) +Liner
Quilt - Enlightened Equipment Accomplice 10f
Pillow - Thermarest Compressible Pillow
WP Jacket - Patagonia Torrentshell
WP Trousers - Northface Dryvent
Down Jacket - North Face 800fp (Changed to RAB Mythic G)
Fleece - RAB Power Stretch Jacket
Hiking Trousers - Fjallraven (No long bring on summer hikes)
Shorts - USA Pro
Sunhoodie - Fjallraven Abisko
Socks - Darn Tough Mid weight x2
Sleep Top - Craft (Changed to Icebreaker)
Sleep Trousers - Craft
Underwear - H&M
Bra - Ocun
Gloves - Sealskinz
Hat - Basic Merino Hat
Buff - Merino Buff
Trail Runners - Merrell (Changes to Topo plus Gaiters)
Pot - Toaks 550ml
Spork - Sea to Summit (Changed to Toaks Long Handled Spoon)
Water Bottles - Smart Water x2
Water Filter - Sawywer Squeeze (Changed to Kataden BeFree)
Power Banks - Anker 20,000Ahr
GPS - Garmin inReach Mini 2
Cables - Type C
Headlight - Petzl Lite
Sunglasses -Goodr
First Aid Kit - Leukotape, Blister Plasters, Sudocrem
Conclusion
Planning for the GDT is somewhat more challenging than even the hike itself but its well worth the time and effort. Getting it all planned before you set off gives you piece of mind but changes can usually be made along the way. Getting your gear dialled in also gives you that little more comfort and one less thing to worry about. Feel free to get in touch via Instagram or Email if you have any questions or need any help organising your own thru hike.